|
Working With Metal Continued
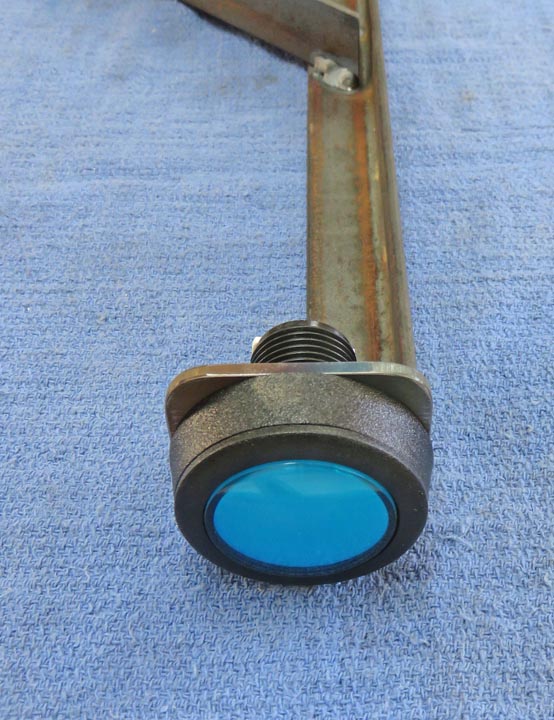
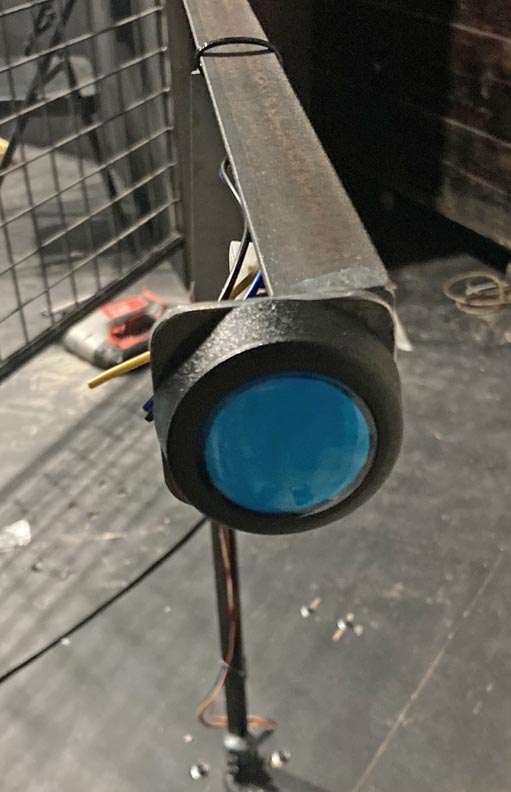
Here is what the button looks like installed. But I'll remove it
first so it doesn't get damaged while installing it.
|
|
 |
| Installation
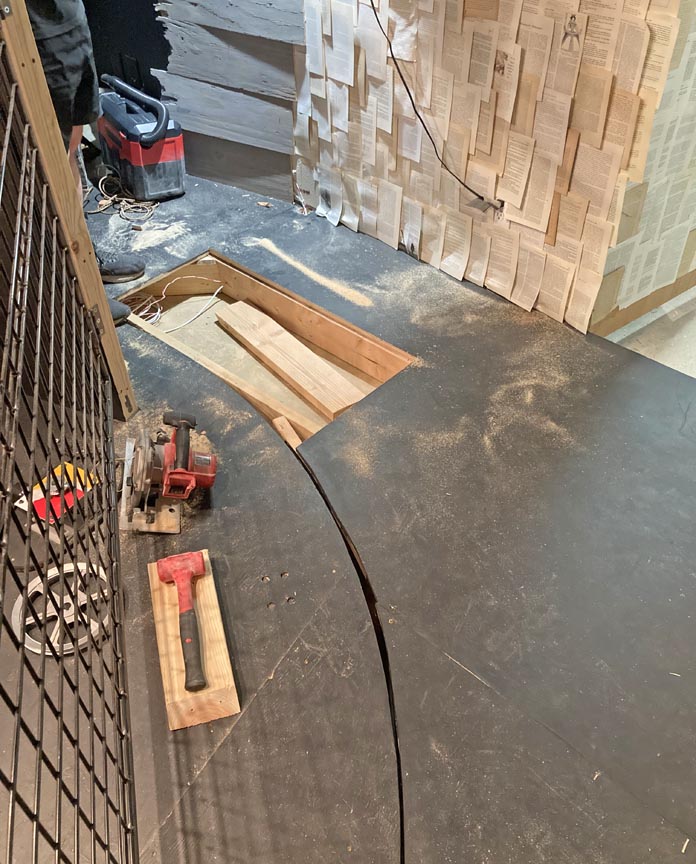
I'm at the Escape Room helping my son-in-law install the
movable arm. But before we could do that we had to cut a section out of
the floor to mount everything to. This room is basically square but
there is a 12 foot moveable round section in the center of the room. Look
close and you'll see part of the round slot on the floor.
Anyways, after cutting out a section of the floor, we needed to add a few
pieces to fasten our freshly cut-out floor piece to.
|
|
 |
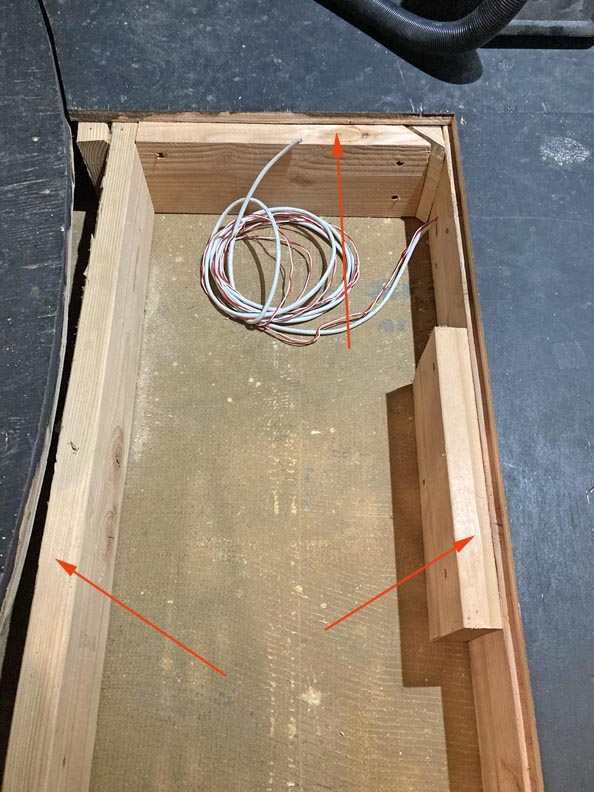
Here we've added some 2" X 6" pieces to fasten the floor to (arrows).
|
|
 |
|
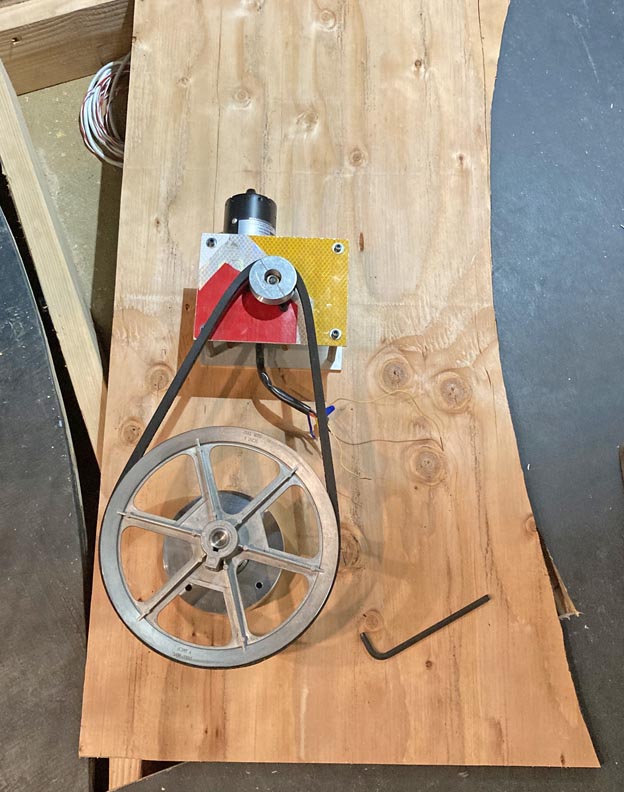
We had to be careful on the placement of the larger pulley to make sure
it cleared everything. This was easy to do because it uses a V belt
which can be mounted just about anywhere.
|
|
 |
|
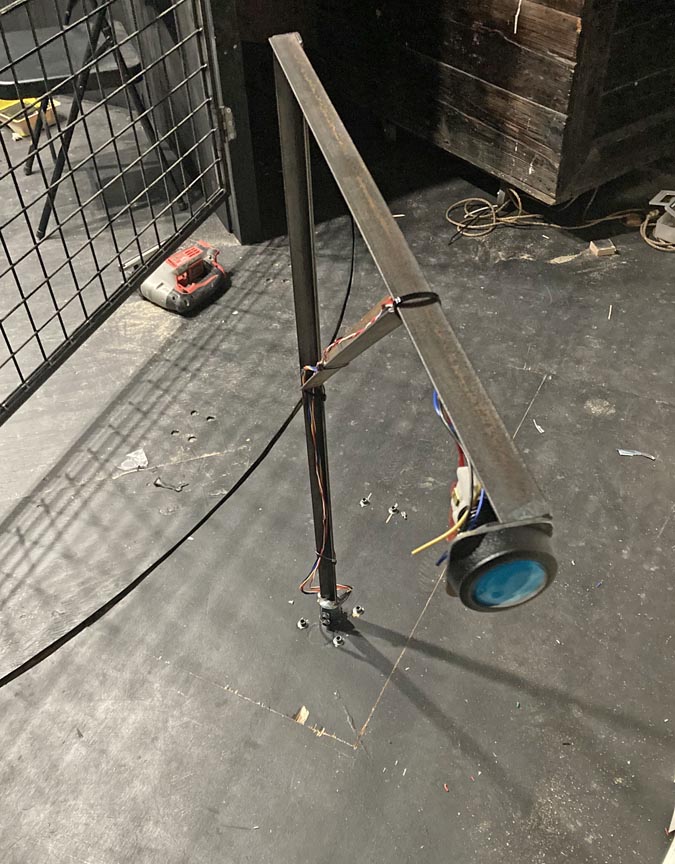
Here is the arm installed and wired up. When it has
power, the arm turns slowly towards the
gate and will then stop.
After one of the players hits the button, it will swing back to it's
staring position and out of the way. One thing I found out was that the
players will not exit here, which means no one will mess with or damage
this arm which is good news.
|
|
 |
A close-up of the arm and button.
|
|
 |
Here is the arm in it's starting position. However, I don't know what
happens when it gets pushed.
|
|
 |
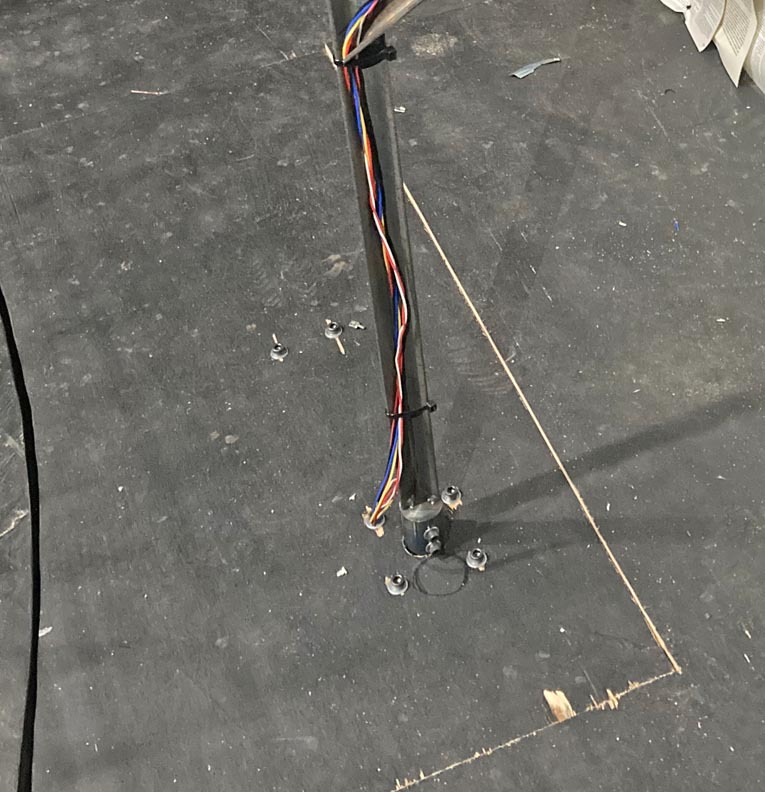
A close-up of the wiring attached to the arm. This was a fun project and
I'm looking forward to doing other projects like this one again soon.
|
|
 |
|
1
2
3
4
5 |