|
More Wood Stuff
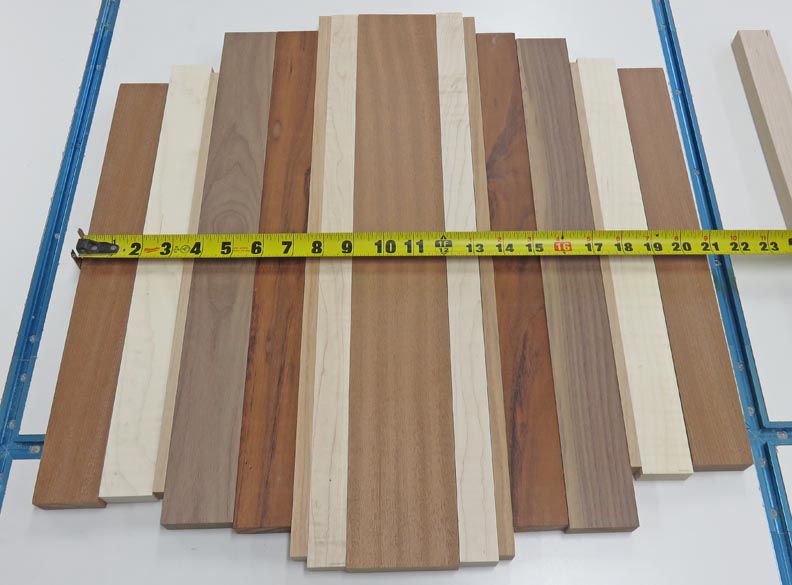
I'll be using a bunch of scraps I had laying around because Jerry told
me to just do whatever I wanted. I hope it looks good.
|
|
 |
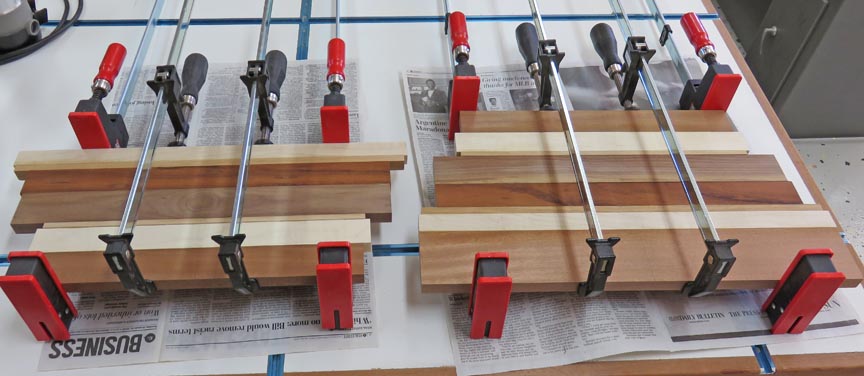
I'm gluing one half at a time, then run
them both through my planer.
|
|
 |
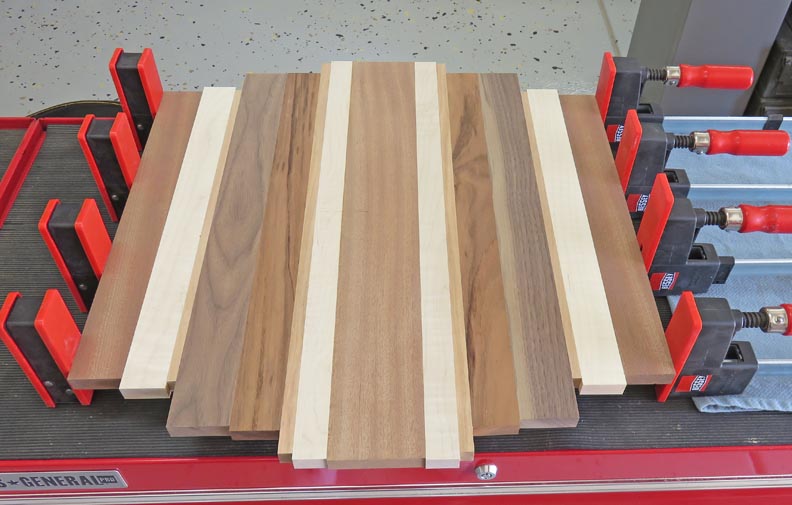
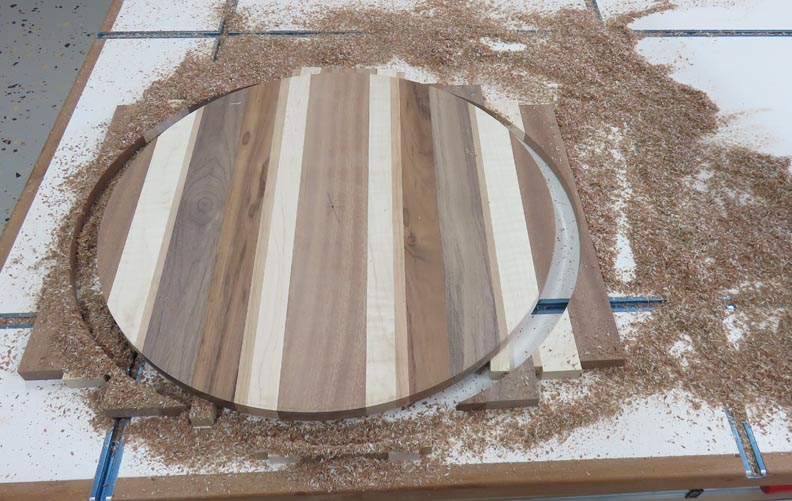
And then I glued them together. This worked out pretty good.
|
|
 |
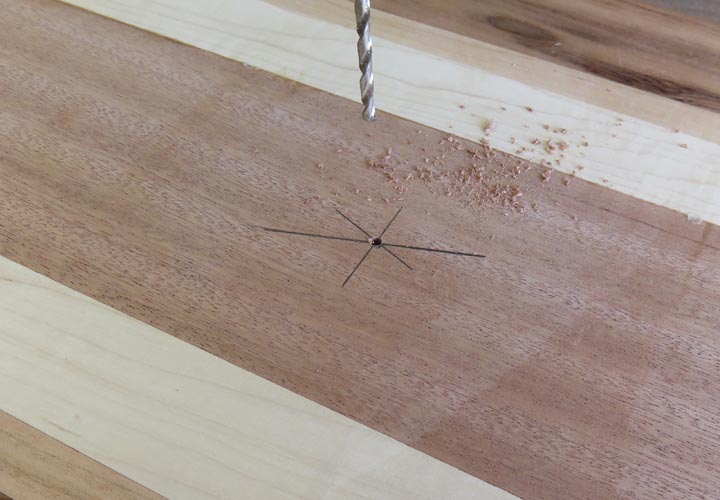
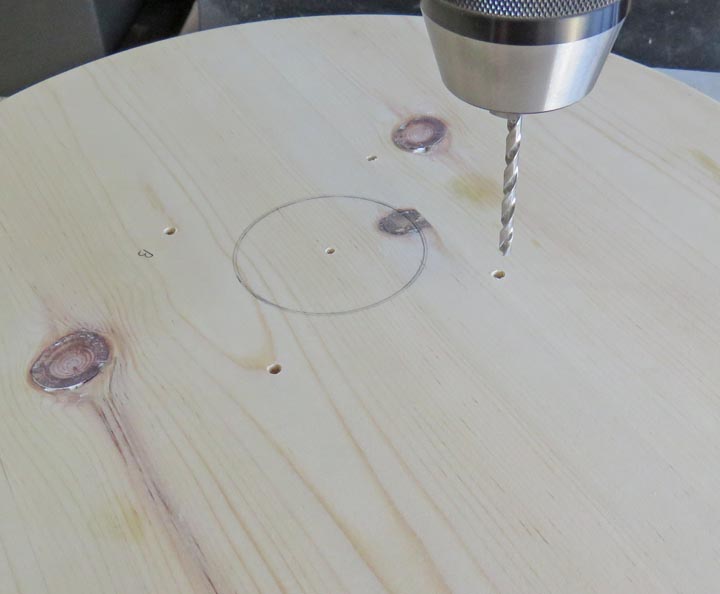
Here I've found the center and I'm drilling a small hole for my pivot pin.
|
|
 |
|
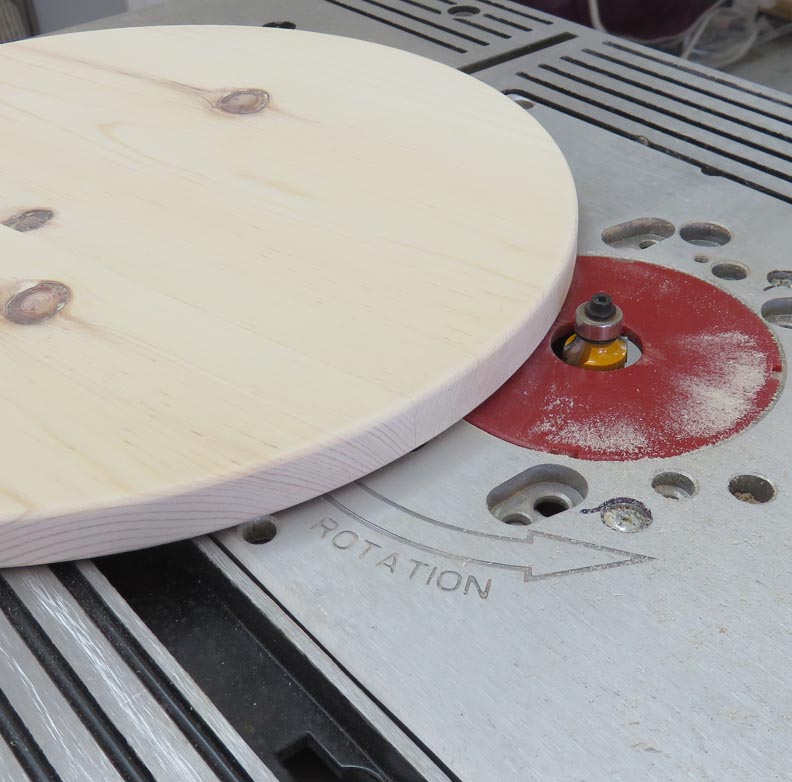
This method works good but it's messy. However, there
were a few places where I had to stop and reposition my router while
cutting that dug-into the side here and there. But I was able to use my
sanding block and work those spots out. I think using a larger pin
diameter would help this.
|
|
 |
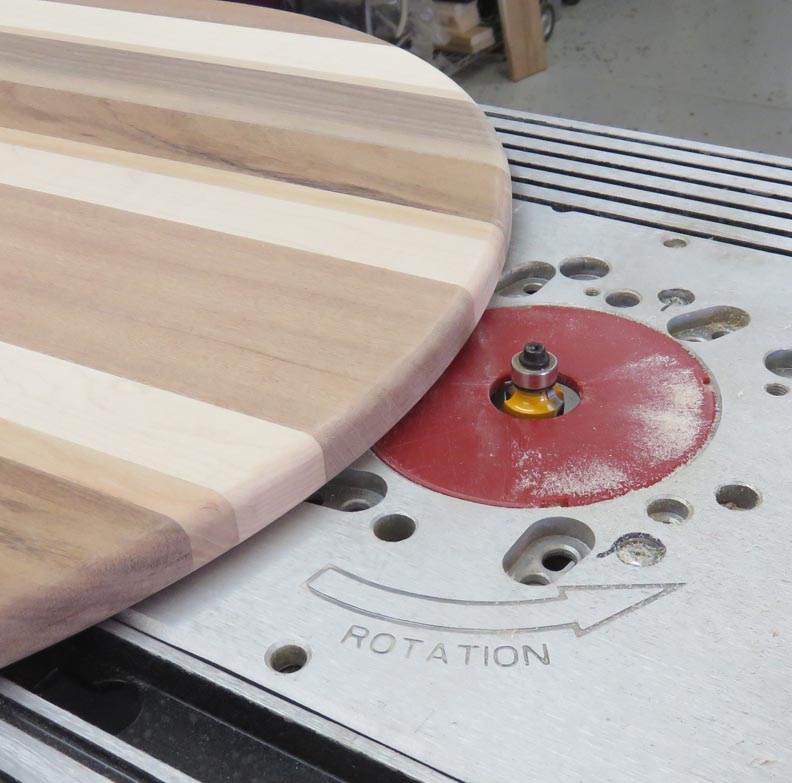
After sanding all the surfaces, I used a 1/8" roundover bit to soften
both top and bottom of the base.
|
|
 |
For the top I used a 3/16" roundover bit on both sides.
|
|
 |
|
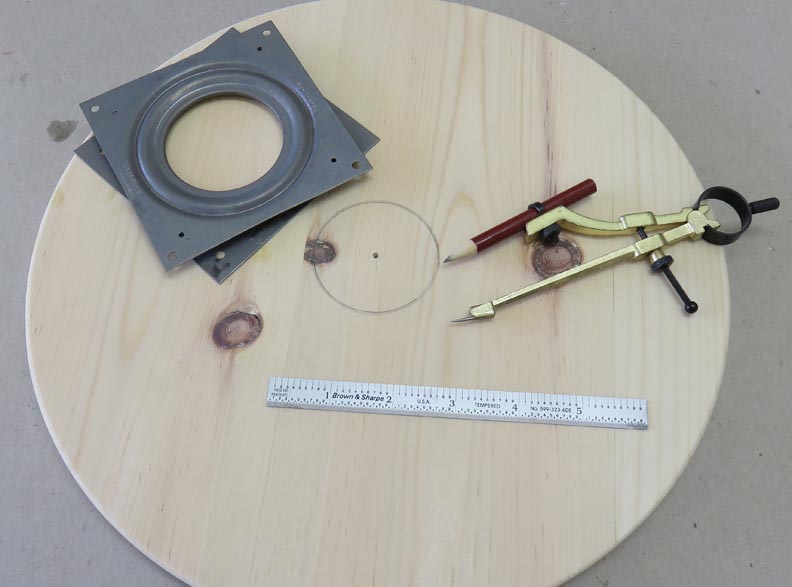
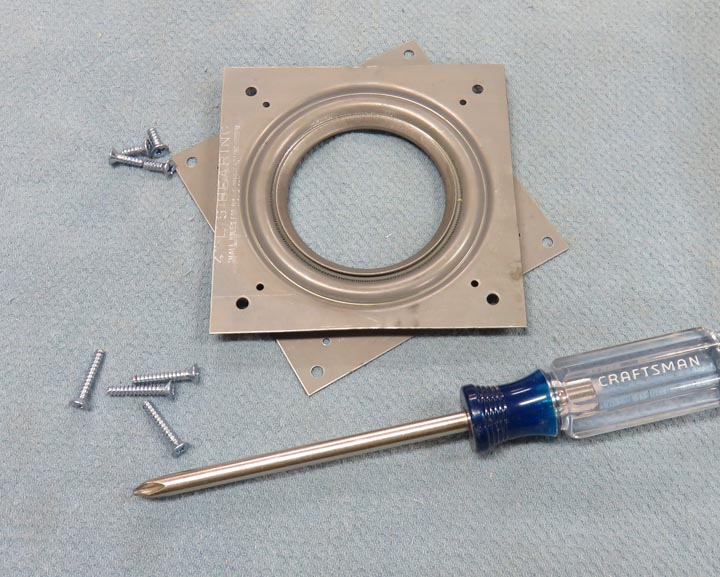
I was ready to install the bearing, but while I was
placing it near the center I had an idea. I already had a center
hole that was used for the outer diameter, so why not use it to help me
center the bearing? I placed my compass into the hole and drew a circle
the same size that's in the bearing. Now all I have to do is center the
bearing over the pencil line and I'm good.
|
|
 |
Once I had my holes laid out, I drilled the pilot holes on my milling
machine.
|
|
 |
I cut some # 6 screws to the length that I needed for both top and bottom.
|
|
 |
|
1
2
3 |