|
April 22nd. This week I'm finally ready to
install both master cylinders and the one you see below is for my
clutch. What I'm doing is called 'bench bleeding'. Bench bleeding helps
reduce the amount of air in the master cylinder before you install it.
What you do is hook a line to the fitting coming out of your master and
then run it into the reservoir. The key here is to have the one end
submerged while you push the cylinder back and forth. What you don't
want is for the line to suck any air so you have to make sure the end
stays covered the whole time. Once you have all the air out, you can
install it.
To prevent any fluid leaking out once I was done bench bleeding, I
made a small line about three or four inches long and then bent one end
over so it would hold fluid. The other end was flared and had a fitting
that screwed on the master so it wouldn't leak while I was in the
process of installing it. If you don't cap-off the master you would have
to work quickly because it starts to drip as soon as you loosen the
fitting.
|
|
 |
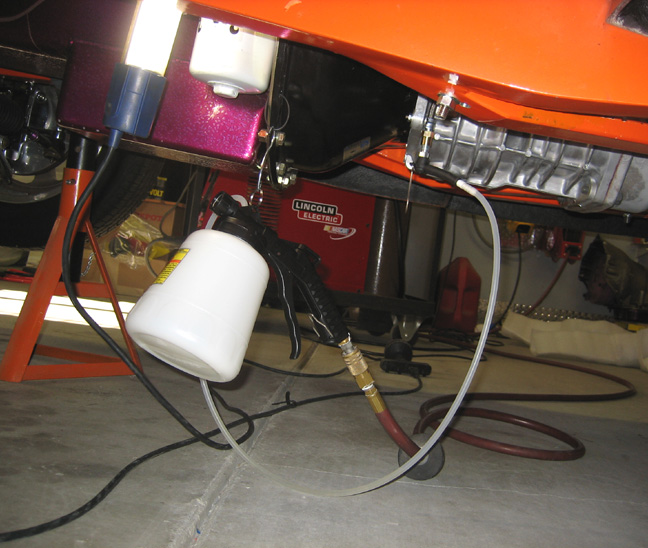
I'm bleeding the clutch here with a device that I bought
the other day. I've never used a brake bleeder before but it seemed to
work fine. This one has a catch can (large white container) that gets
hooked to an air compressor. One end goes to the bleeder valve and the
other end goes to the catch can. All you do is open the bleeder valve,
squeeze the trigger and it creates a vacuum that pulls fluid through the
line. It's easy to see if there is any air because the line is clear so
when you stop seeing any air bubbles you're done.
|
|
 |
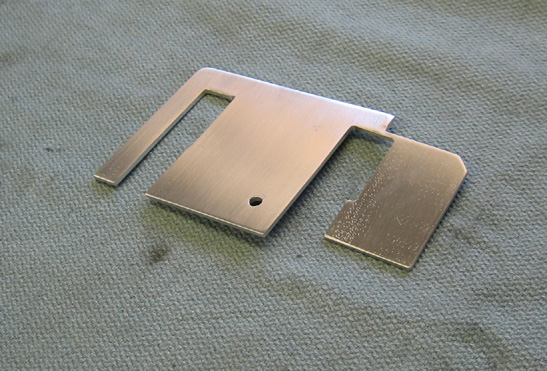
This is a trim piece that I made out of aluminum is to dress up the
engine side of the firewall for the pedals. The bent area is suppose to
be there and it's held on with a single screw.
|
|
 |
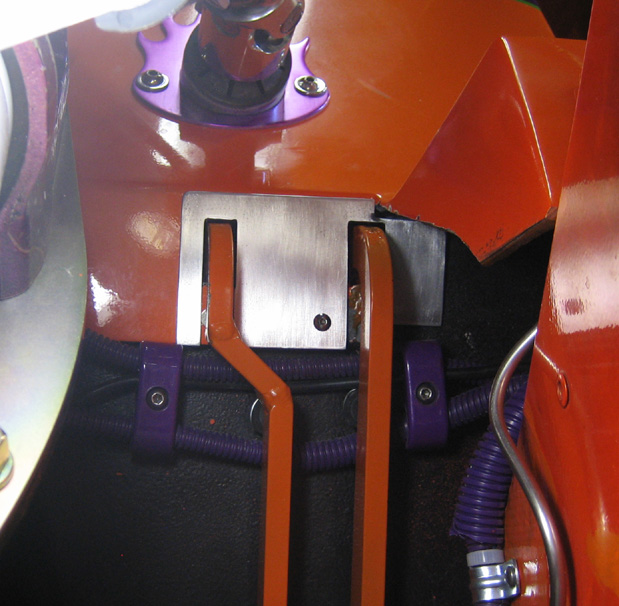
Here you can see it in place but it's not a very good picture. You can
also see how the right side (which has the bend) conforms to the
firewall in that area. If I get the chance I'll send this in to be
anodized one of these days.
|
|
 |
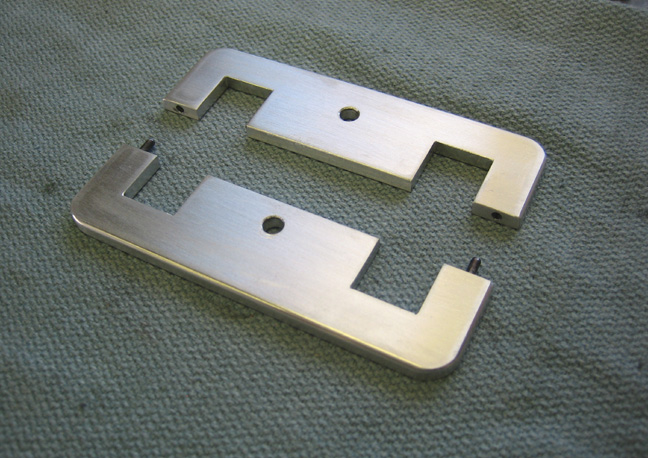
This is also a trim piece that I made for the inside which is also made
out of aluminum. It will fit around both pedals and has two screw holes
to hold it in place. It has two press fit pins on one side which will
fit into some holes on the other side that are a slip fit. I used roll
pins that are .090 in diameter which are sticking out 3/8". Once it's
together it should look like one flat piece.
|
|
 |
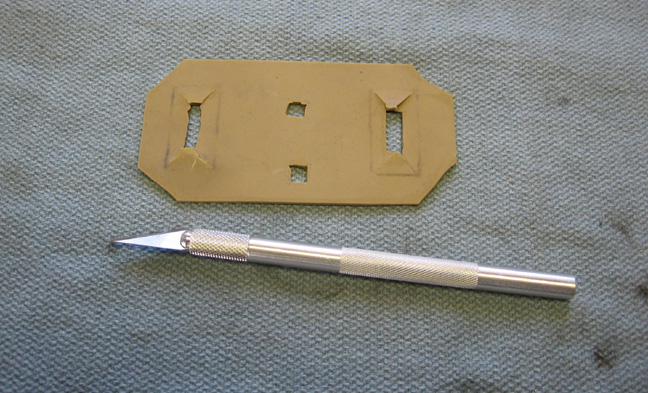
This piece of rubber will be placed under the trim piece above to help
keep out dirt and dust. I don't know how well it will work but I hope it
does some good. This was harder to cut than I first thought because I
started with some large scissors but they didn't work at all. I ended up
using a hobby knife to do the cutting which looks bad but should work
ok.
|
|
 |
|
1
2
3
4
5
6
7
8
9
10
11
12
13
14
15
16
17
18
19
20
21
22
23
24
25
26
27
28
|
|
29
30
31
32
33
34
35
36
37
38
39
40
41
42
43
44
45
46
47
48
49
50
51
52
53 |
|
54
55
56
57
58
59
60
61
62
63 |