|
Working With Wood Continued
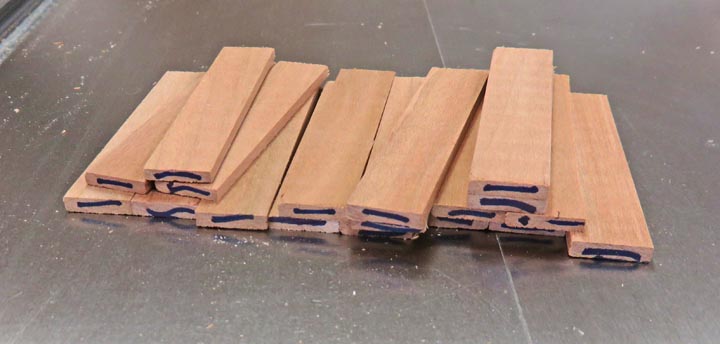
Here are the cherry pieces that will separate the rectangle pieces.
The marks on the ends are so I know which ones have been cut. Just an
easy way for me to keep track.
|
|
|
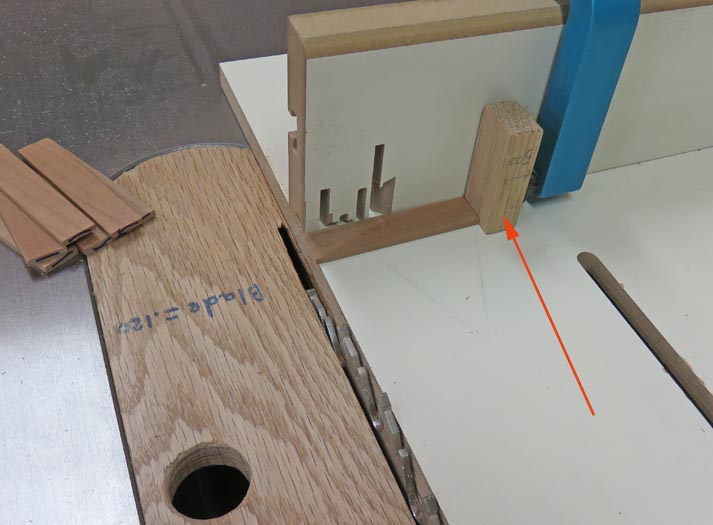
The work stop on my cross-cut sled sits too high for my
thin work pieces. So I used a block against the
work stop and then my work piece against the block. This worked out just
fine.
|
|
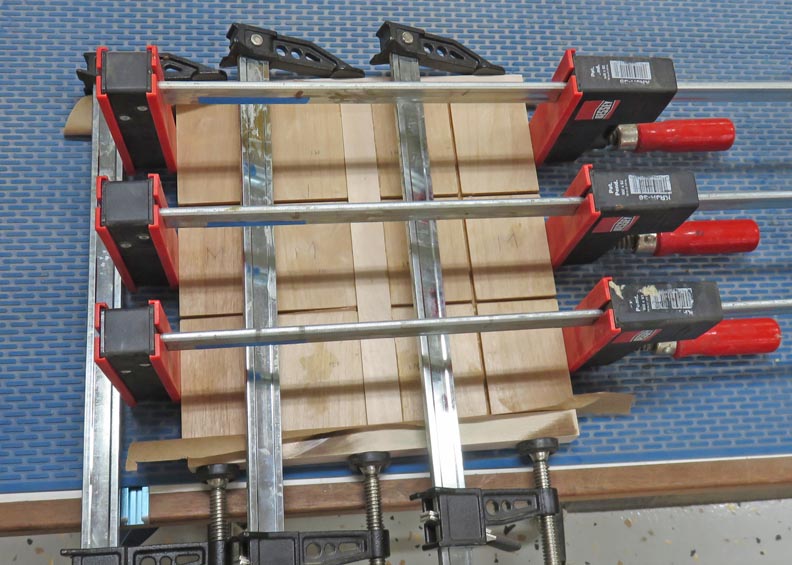
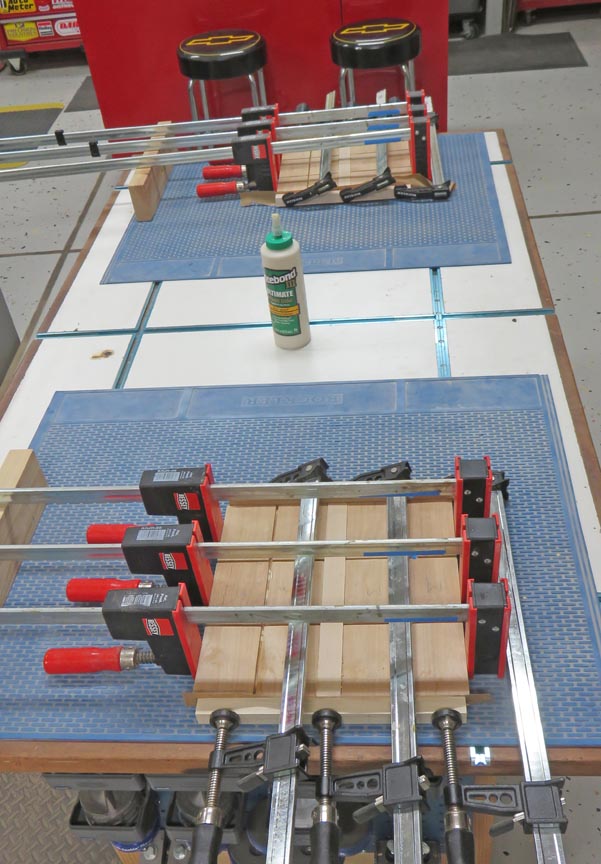
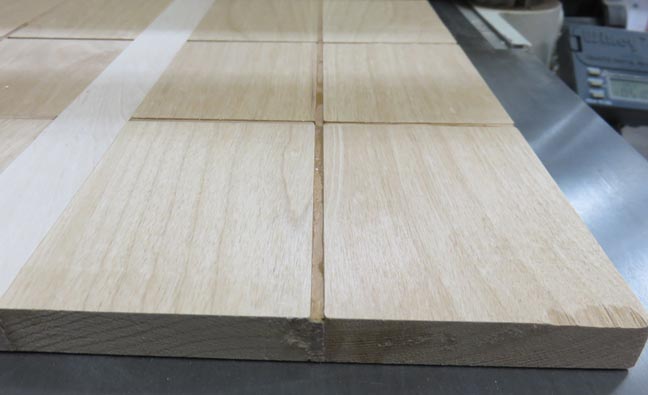
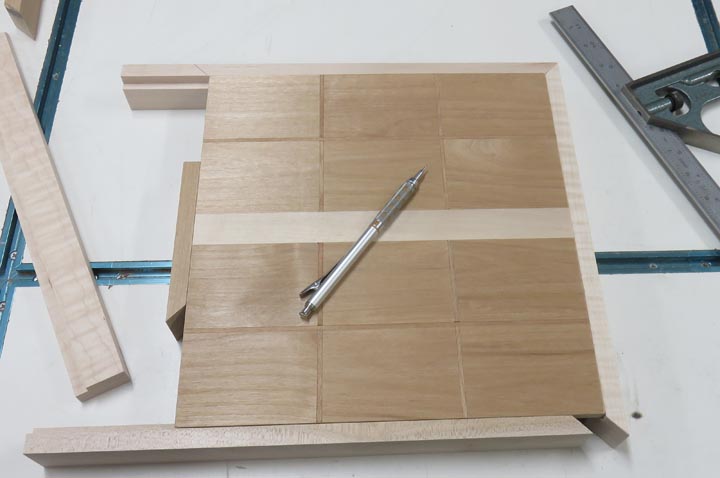
This glue-up wasn't easy because of all the pieces (23 pieces total). However, I made the
outer pieces slightly oversize so I could trim the edges later just in
case I had something move.
|
|
Now it's time to wait until everything is dry.
|
|
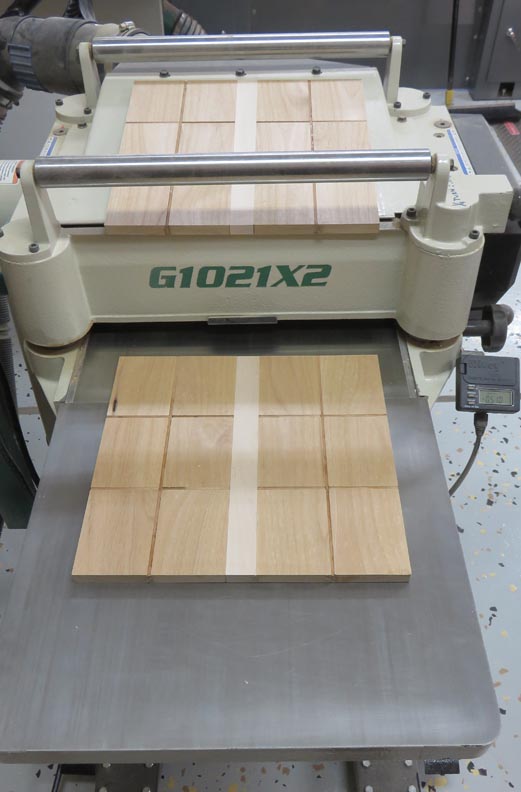
The next day I used my thickness planer to bring the size down to 3/8" thick.
|
|
It's getting close to size here.
|
|
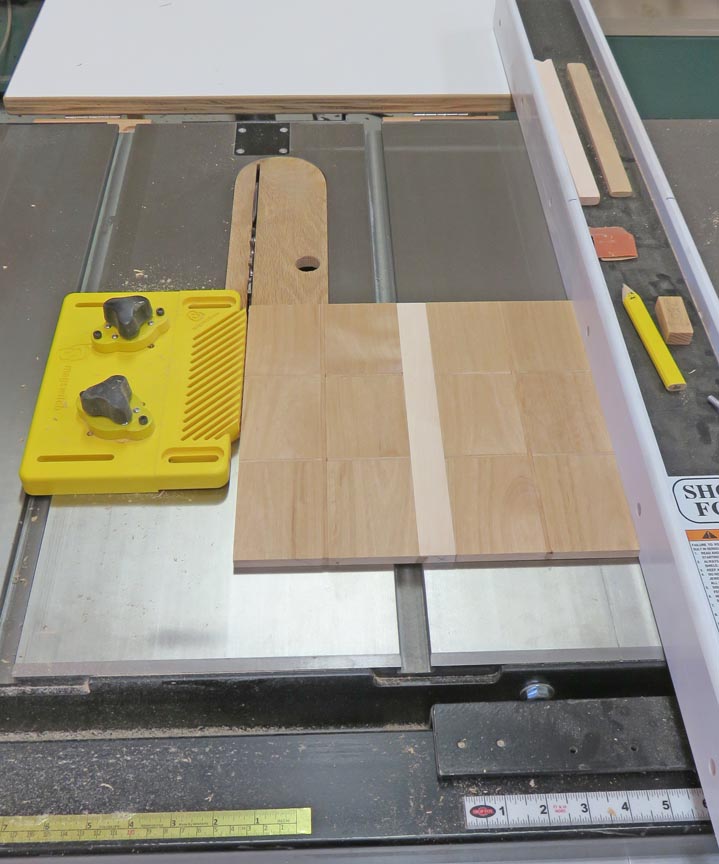
Then I used my tablesaw to skim the edges to size.
|
|
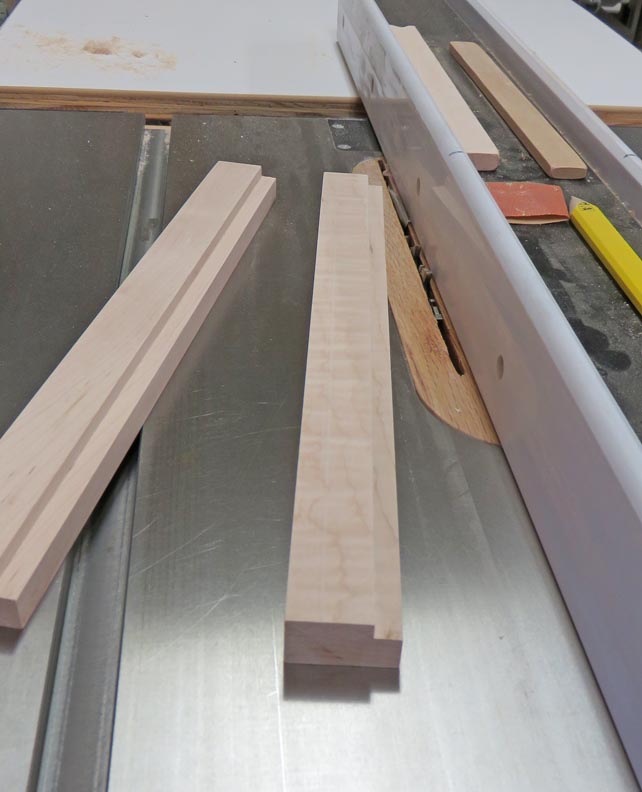
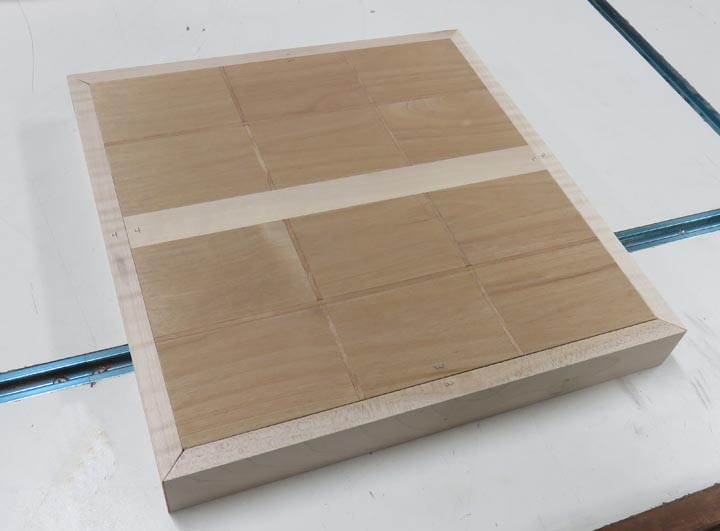
I'm putting a rabbet on the outer molding for the game board.
|
|
Here I'm mitering the corners of the molding. This is a slow process for
me because I don't want to make my work pieces undersize. Slow and
steady here...
|
|
After a few minutes, here is what it looks like with the miters
finished.
|
 |
|
1
2
3
4
5
6 |