|
Almost Finished
I'm using a satin clear finish to protect the game board with. This
should last a long time and bring out the beauty of the wood.
|

|
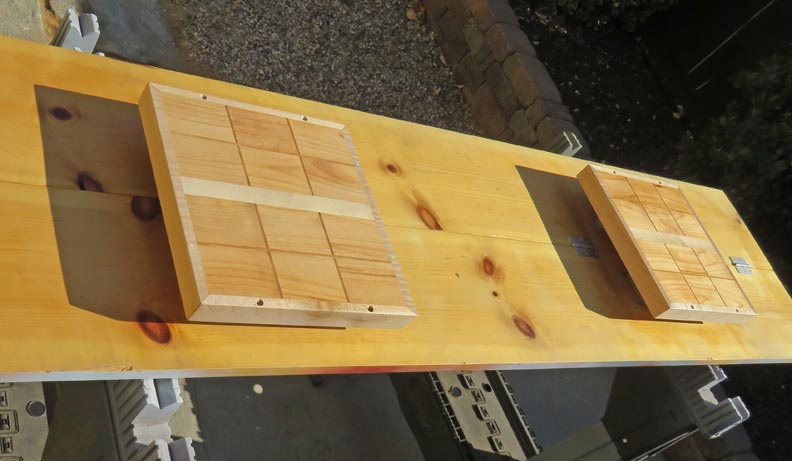
Here I'm using my side yard as a paint
booth again.
|
|
|
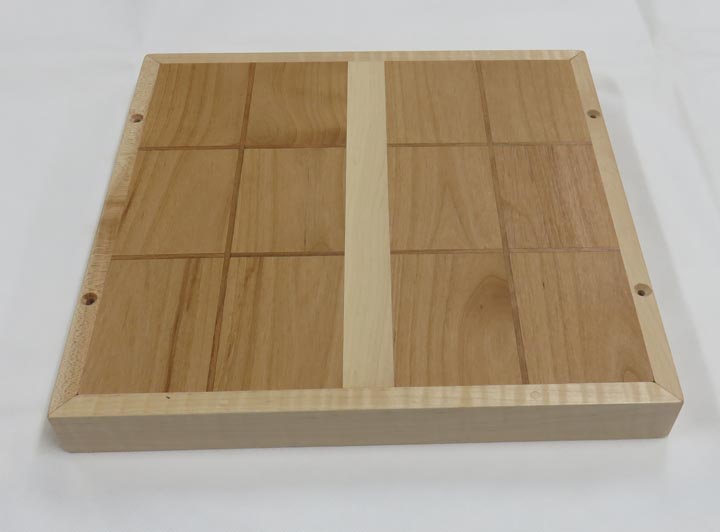
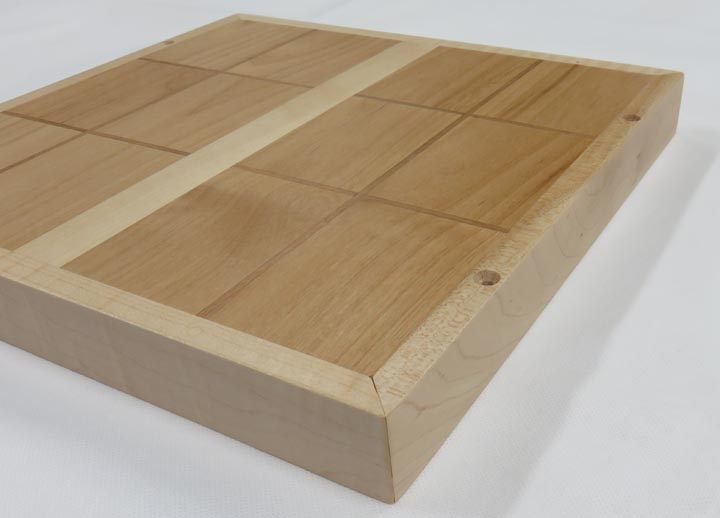
It's Finished
Here it is all finished. To be honest I thought the cheery would be
darker than this so it would be easier to see each rectangle.
|
|
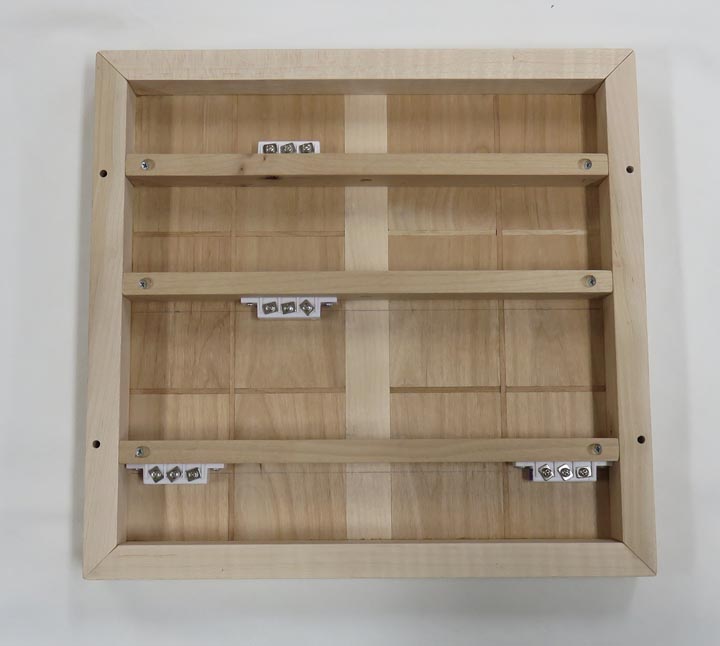
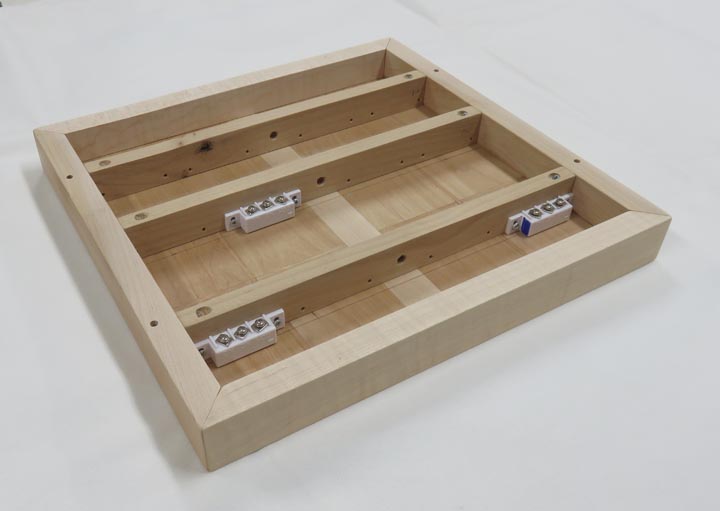
Each game board will get four switches. I talked to my son-in-law and he
told me where he wanted each one to be located.
|
|
Here you can see the holes for the wiring.
|
|
The mitered corners came out okay, but I really wasn't all that
happy with them.
|
|
|
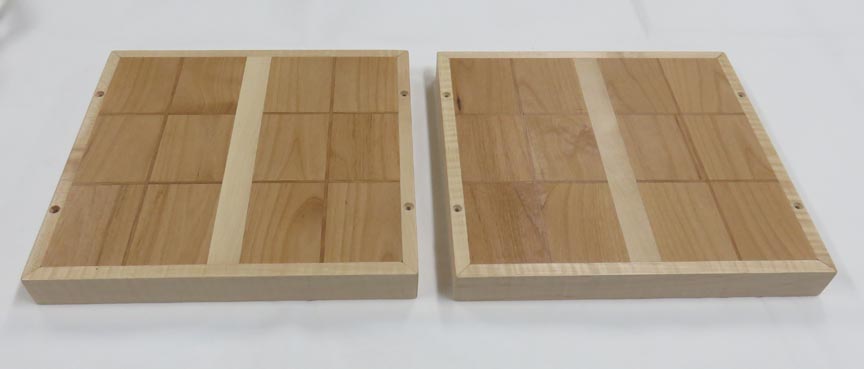
Here are both game boards ready to be mounted and used.
However, a few days later I found out that when the figurines were
placed on a certain rectangle, they were not activating the switch like
they should've. And to make them work, my son-in-law had to move some of
the
switches over about 1/2" to make them work. Well that's on me because I
should have tested it before I gave it to him. My son-in-law said it was
an easy fix but this shouldn't have happened if I was doing my job
correctly. Live and learn.
|
|
|
1
2
3
4
5
6 |