|
Working With Metal
This Yoga mat rack needs a place to hold some mats and
after talking with my daughter, she wants this part to be made out of
metal. I suggested using 1/4" diameter stainless steel bar stock for a couple
of reasons: first, I didn't want mild steel because it would eventually
rust. And yes, I could paint this mild steel but I didn't want it to
possibly transfer any paint to the mat.
Now depending on what type of stainless steel gets used, it
could rust too. Yes, stainless steel can rust depending on which type is
being used, so I need to choose wisely
here.
Note: if the stainless steel can be heat treated, it
probably has enough iron in it to rust. Material like 13-8 PH or 17-4 PH or
440c can all be heat treated and are some of the better stainless steels
out there. On the other hand, some of the 300 series of stainless steels
are perfect for my application because they won't take a conventional heat treat.
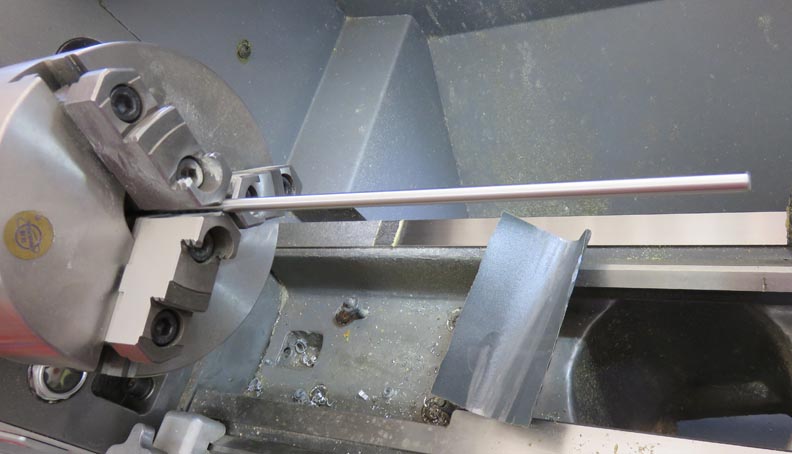
What I chose to use is 304 stainless for this project and each
piece will be cut and machined to 22" long. I bought two six foot lengths and I
should be able to get three pieces out of each length. What I'm doing
below is sanding each piece to give it a uniform finish first.
|
|
 |
|
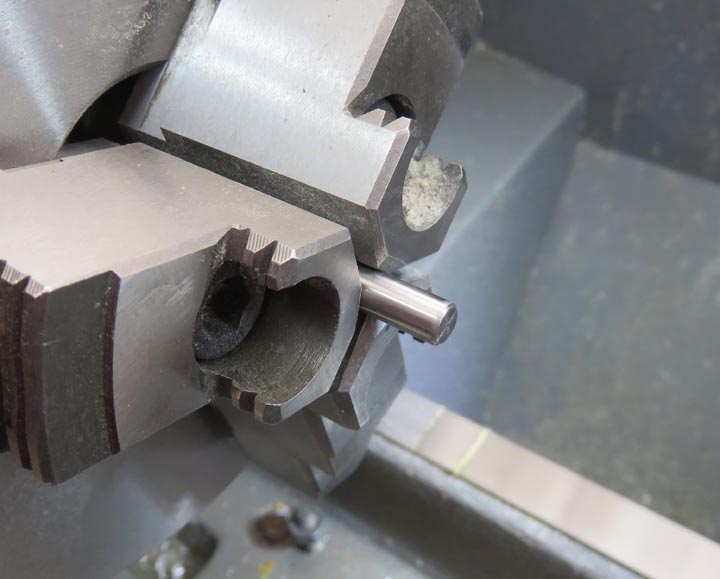
Then I machined each end and put a small chamfer on them
as well. The chamfers will make it easier to install them into the wood
later.
|
|
 |
|
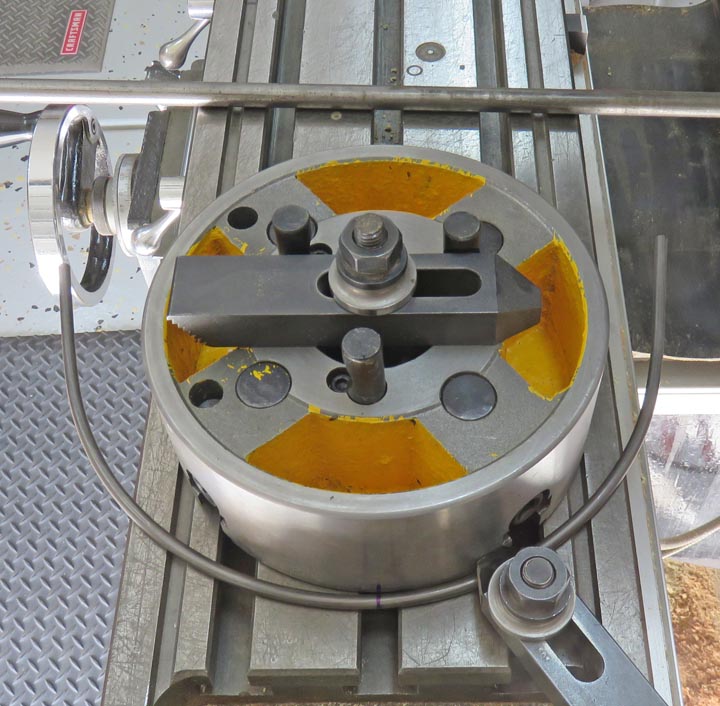
Tooling
What I want to end up with is a four inch radius (eight
inch diameter) for these racks, so I'm practicing with some scrap
material, bending it around my lathe chuck of the same size. However, as
you can see it has some 'spring-back' which makes the radius too large
for what I'm shooting for. Time for a different piece of tooling.
|
|
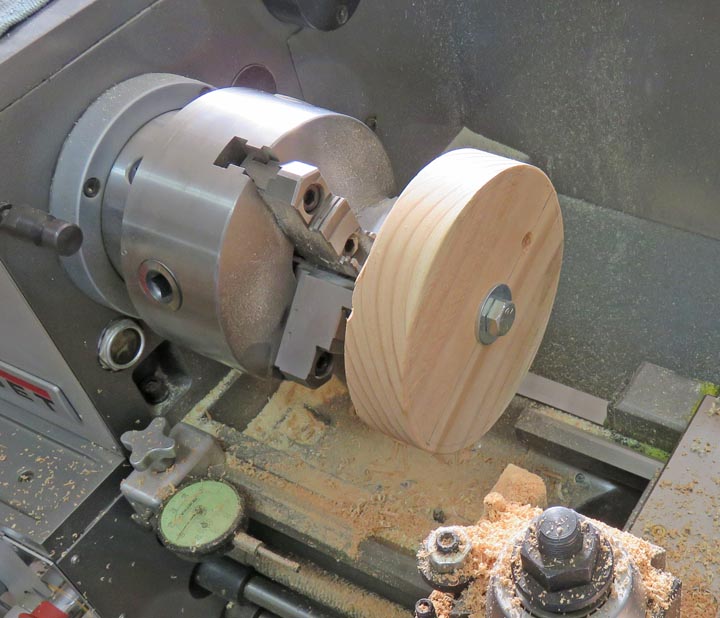
I decided to make some tooling out of wood, out of a 2" X 8" to be exact. The size
will be six inches in diameter but with the spring-back it should be
just about right.
|
|
 |
|
Working With Metal Continued
Here I'm bending the 304 stainless steel to see how much
spring-back I'll get. And it turns out this new piece of tooling worked
perfect. The piece of tubing on the mill table was used to help bend the stainless
(for leverage). I
slipped the tubing over the bar stock by about three inches and then
bent it around the wood piece to the angle of the red arrow. Once I
relaxed my work piece, it moved back to what you see below. That's called
'spring-back'.
|
|
 |
|
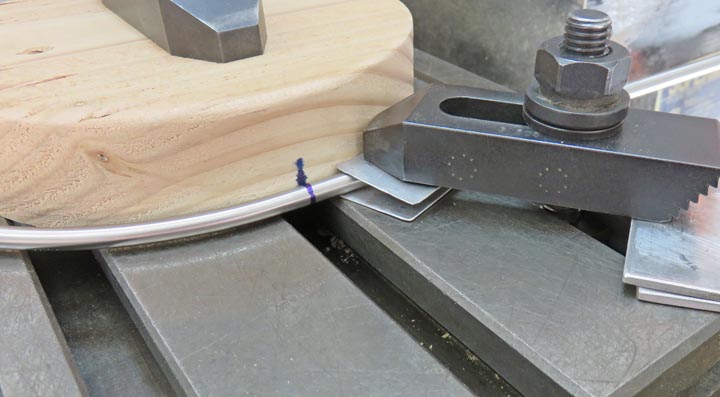
To line things up, I found the center of my work piece,
put a blue mark on it and aligned it with the same color mark on my wood
tooling, clamped it down and then bent it. Then I loosened the clamp,
turned my work piece around and repeated the process. This gave me a U
shaped piece, which is what I wanted.
Notice the aluminum shims on both sides of the stainless
steel. This is to keep my work piece looking nice after clamping.
|
|
 |
|
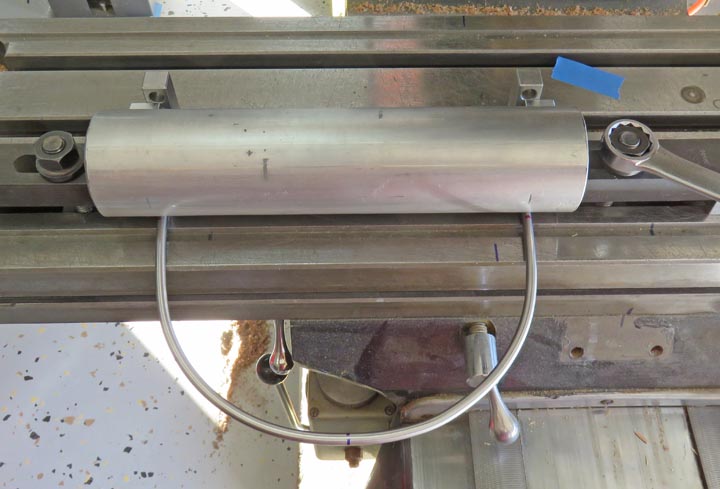
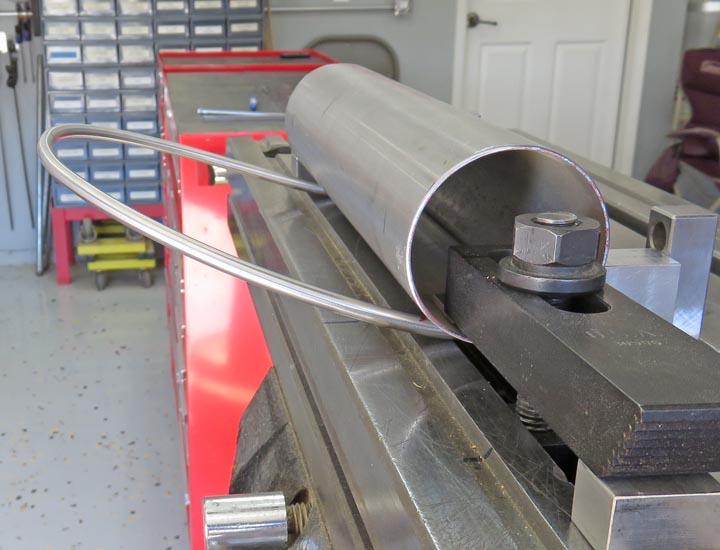
After all the first bends were done, it was time for the
second bend. And for that I'm using some leftover 2 1/2" exhaust tubing
from my 33 Ford. As you can see I have the 1/4" diameter work piece
under the tubing clamped down from each end. This tubing will give me a
slight radius instead of a sharp bend.
|
|
 |
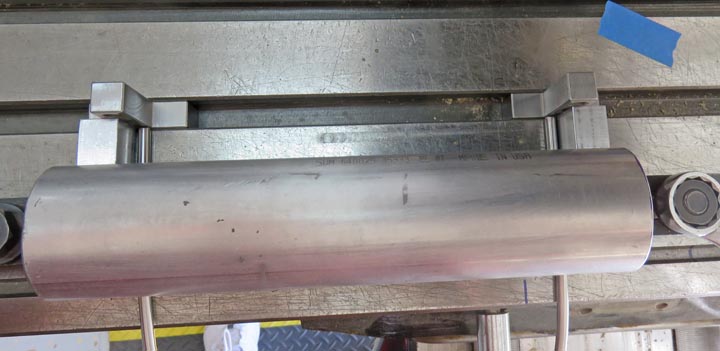
To make sure all the bends are in the same location, I have my work
piece positioned against some work stops.
|
|
 |
I squatted down and pushed upwards on my work piece until I had the
desired height that I needed. This was easy to do and it didn't take
long to bend all my pieces.
|
|
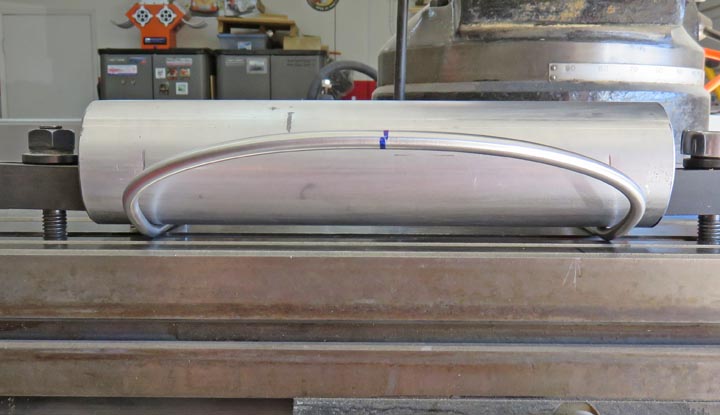 |
Here you can see the bend a little better, along with the clamps holding
everything down. This worked out great and it put a nice radius on my
work piece.
|
|
 |
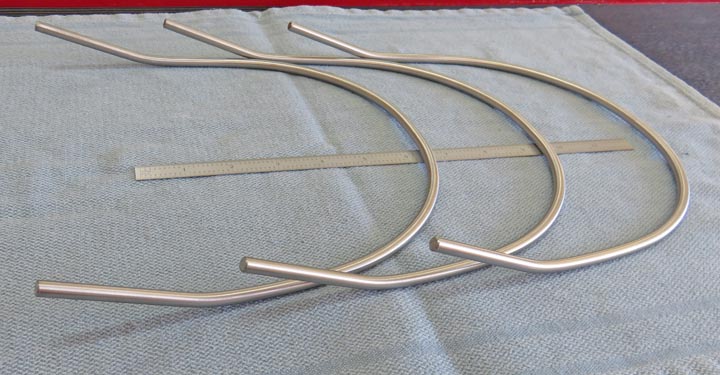
Here are all my pieces, but I did make one extra
just in case I messed up.
|
|
 |
|
1
2
3
4
5
6 |