|
Working With Metal Continued
At the bottom of the cheat sheet (on the previous page)
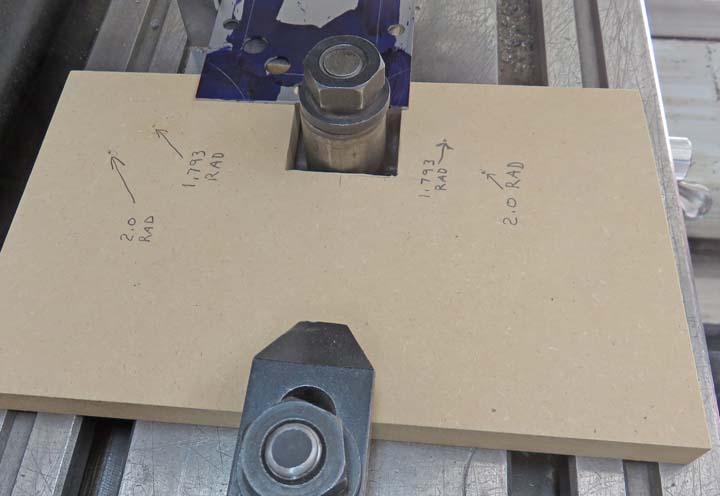
there are some work coordinates that are for two different radii that
you see below. I used a sharpened dowel pin and put a dent at each
location so I could use my dividers to layout some lines.
|
|
 |
|
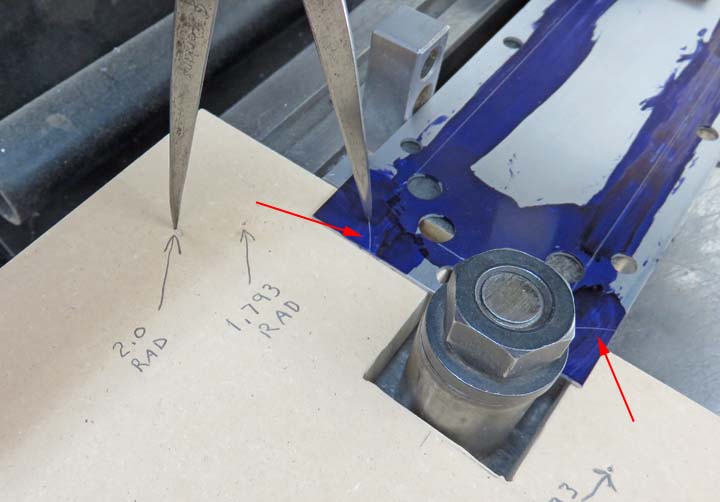
Here you see that I'm scribing a 2.0" inch radius
(arrows). These marks represent the outside radius. Once those were
done, I changed the radius on my dividers to the 1.793 and scribed the
inside radii.
|
|
 |
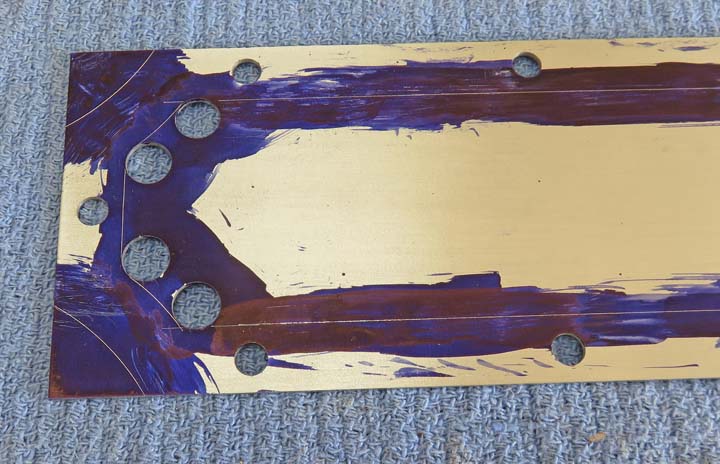
Here is what I have so far, which is exactly what I was after.
|
|
 |
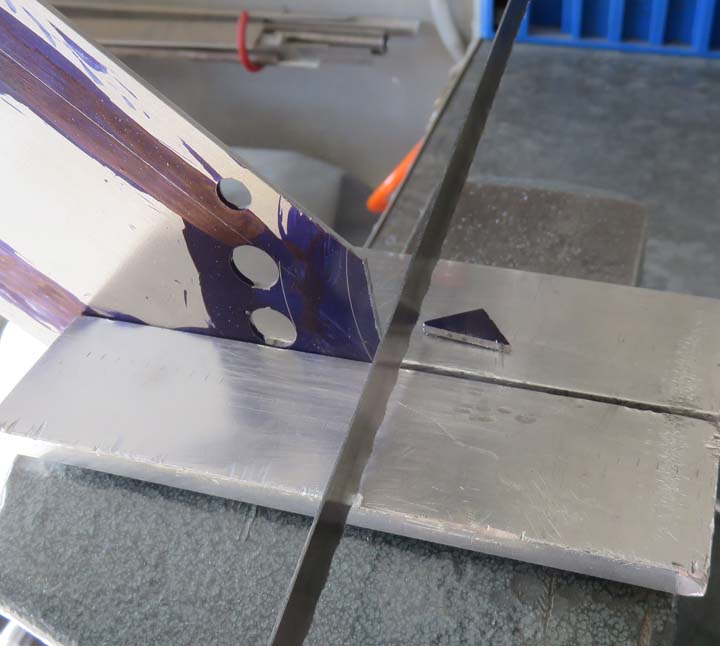
I used my hack-saw to remove the end pieces which will make it easier
for me to machine right to the line.
|
|
 |
I used my flycutter set for a 2.0" radius to cut all the ends.
|
|
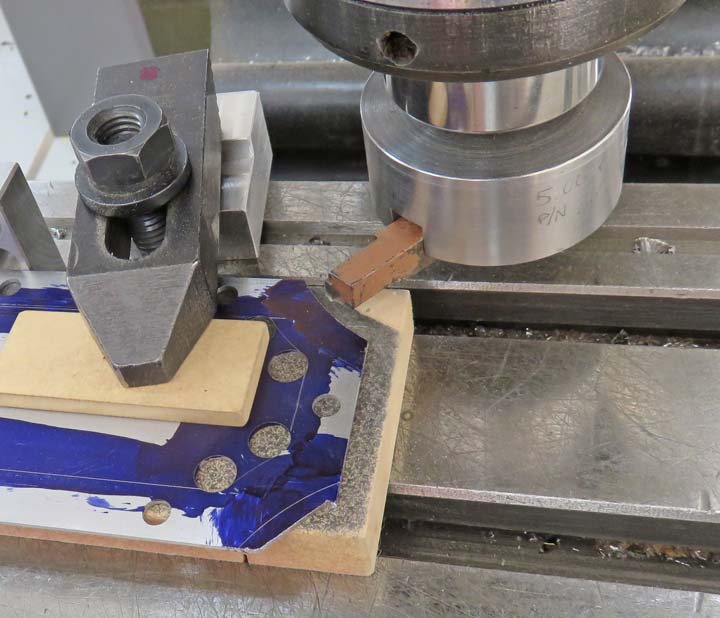 |
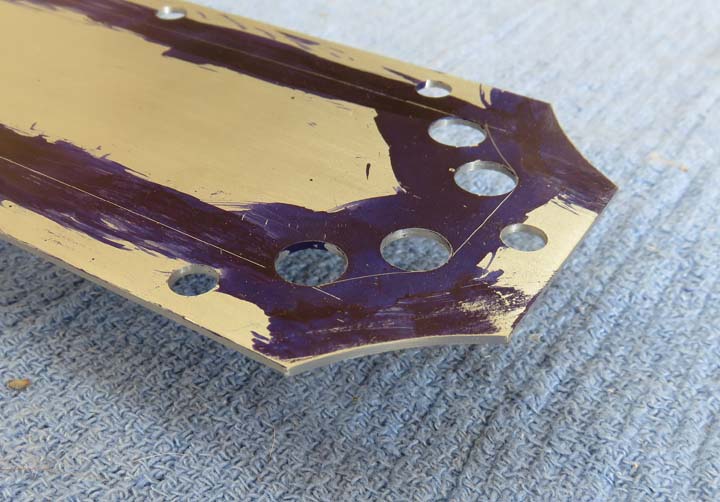
This is what it looks like after a few minutes. At this point the ends
are finished. Now it's time to work on the inside.
|
|
 |
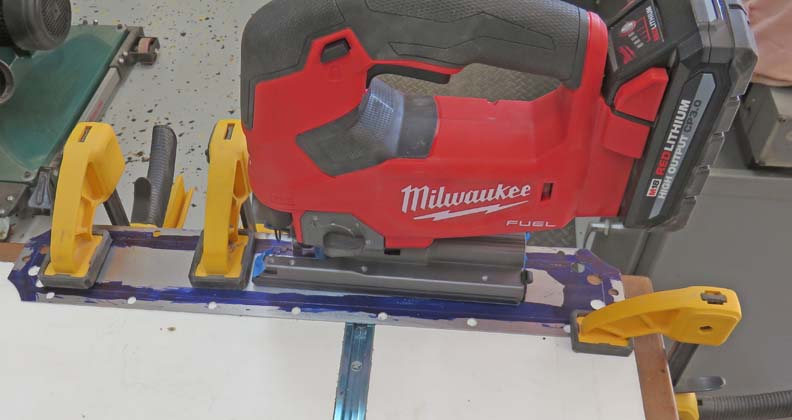
I used my jigsaw to remove the inside area. I cut about one or two inches,
stopped, moved my clamps, and then cut again. This took awhile but it
worked great and I didn't bend my material.
|
|
 |
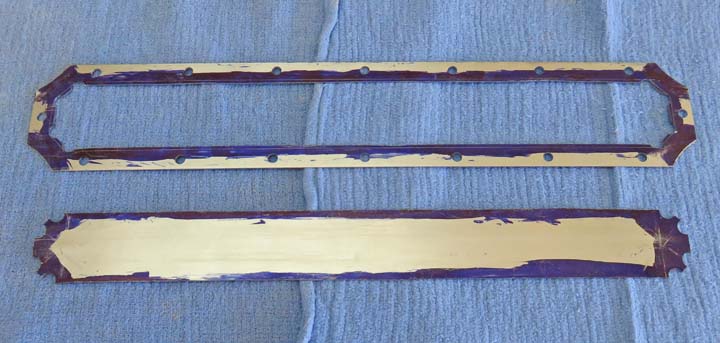
This process worked out great and now it's time to machine the inside
area.
|
|
 |
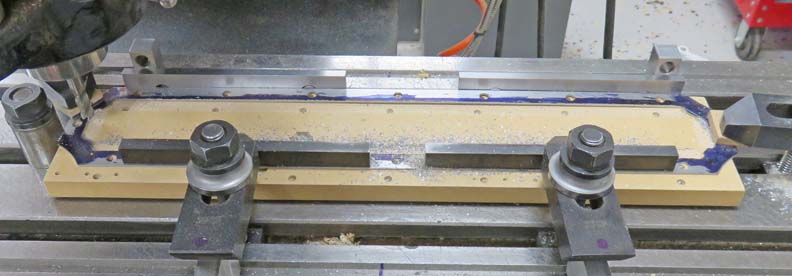
I'm using some wood tooling again to rest my work piece on. I'm also
using some metal parallels and clamps to hold my work piece down with.
|
|
 |
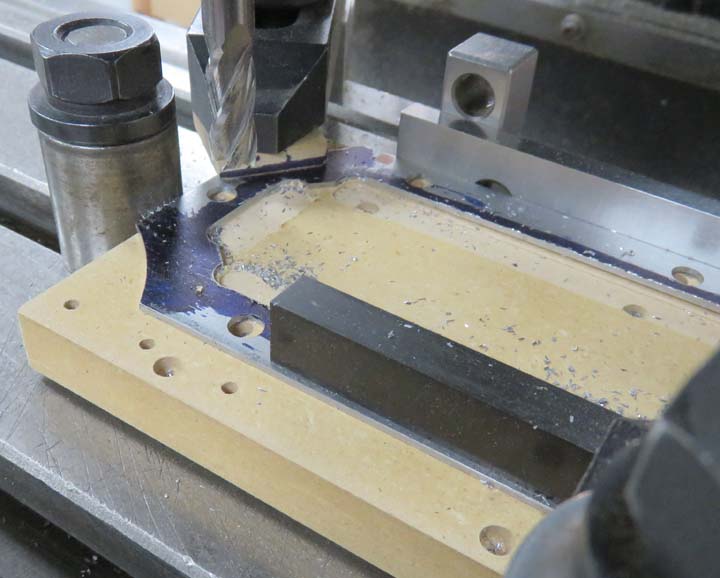
A close-up of the end while using a 3/8" end mill.
|
|
 |
|
1
2
3
4
5
6 |