|
Working With Antlers
When I was talking to Tracey about what she wanted to hold
the scroll with, I told her I could make something out of metal in the
shape of a U or Y. She thought that was a good idea, and then my wife
Terri suggested using antlers.
I asked my daughter about this and she loved the idea
(being those would fit right into the renaissance time period) so I dug
though my collection and found something I thought would work. After
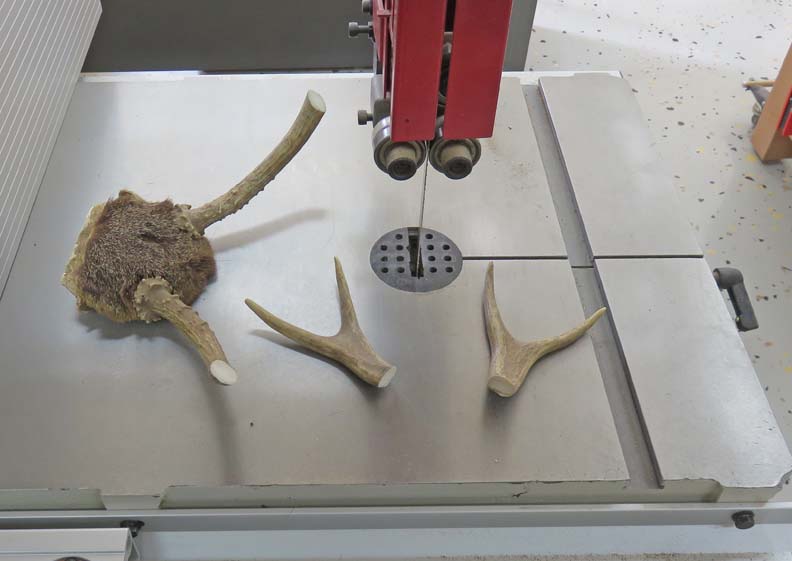
doing some measuring, I think this will work great so I cut them
with my bandsaw.
|
|
 |
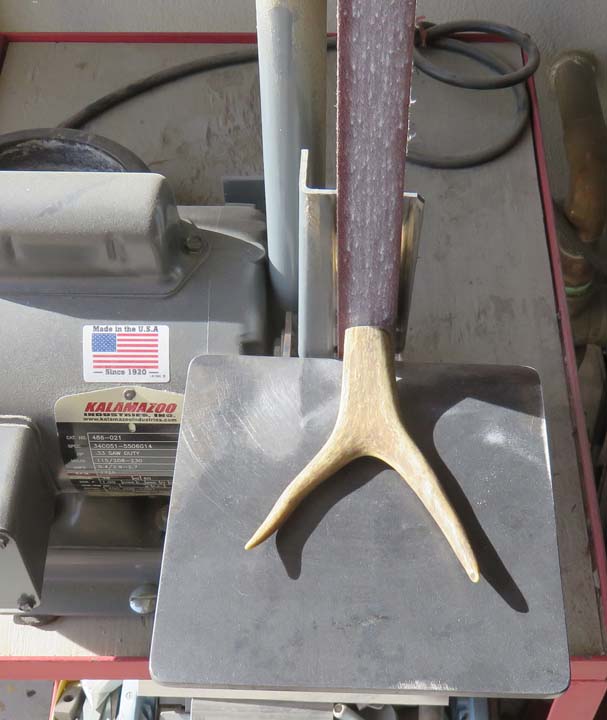
I needed to put a flat on each antler so I
used my belt sander. This worked fine but this is a very
smelly operation because antlers are basically bone. And sanding or
grinding bone is very yucky smelling.
|
|
 |
|
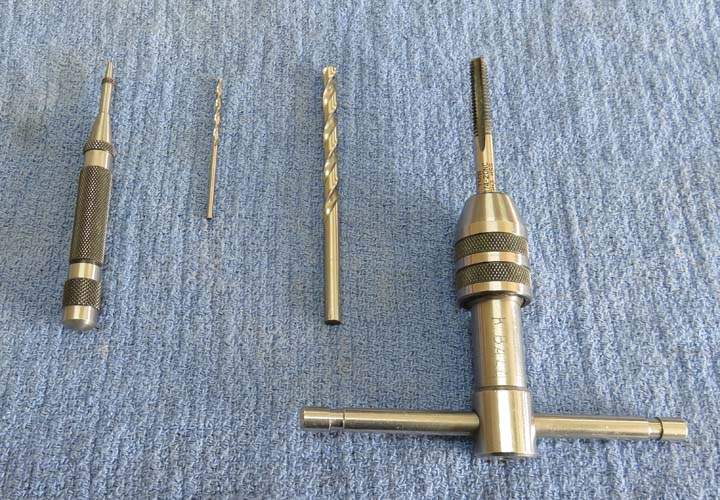
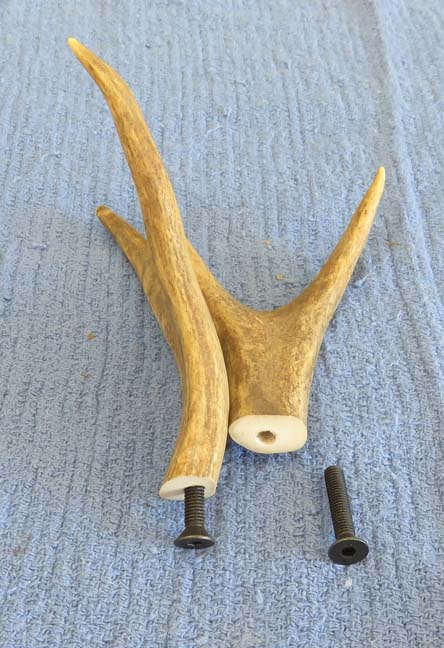
I've used antlers for other projects and have used
thread inserts to keep them attached. Then it hit me, if I can successfully put threads into
wood, then I should be able to do the same with antlers. Why? Because
antlers are much
harder than wood.
|
|
 |
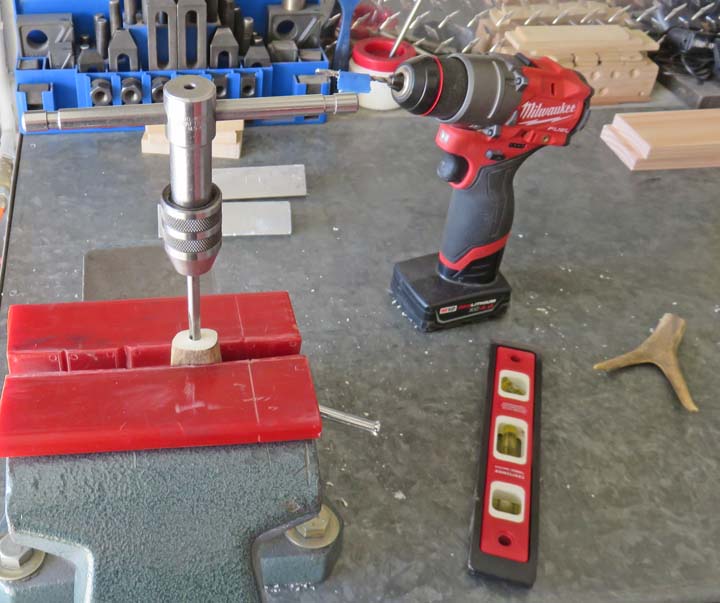
I laid out where I wanted my threaded holes, placed a level on my antlers,
clamped them in some soft-jaws and then drilled and tapped my holes.
|
|
 |
This worked out great and I'll remember this trick for any future antler projects.
|
|
 |
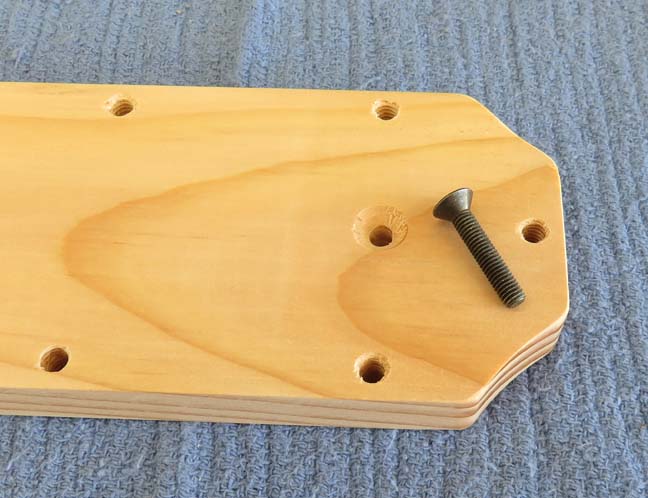
I drilled and then countersunk for some 1/4 flat head screws from the
back
side. And after fastening the antlers to my wood base, this is going to
work out great. Now it's time to work with some metal again.
|
|
 |
|
Working With Metal Again
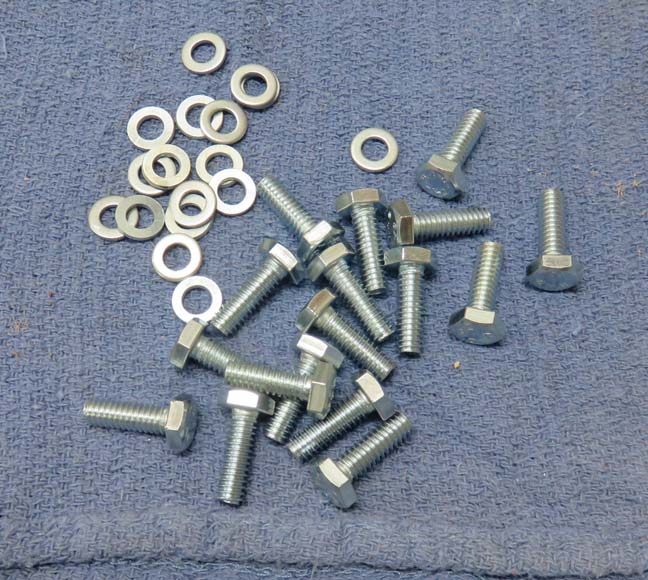
These are 1/4-20 bolts along with some 4mm washers. The
reason for the metric washers is because they fit the 1/4" bolts without
any slop, which is what I wanted. However, both of these are going to
need machining so they are proportional for my project.
If you checked out the 'wedding present' that I made
earlier, those bolts had square heads. That worked out great because of
size of the metal, which was one inch wide. But this project is
only 1/2" wide, so the heads on the bolts below are much too big so I'll
be machining them.
|
|
 |
|
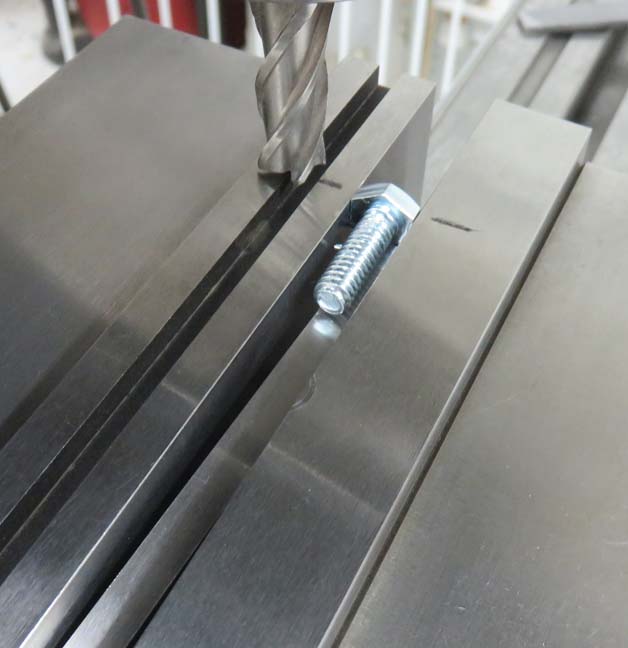
I placed the bolt (threads only) on a parallel with
the head just above the vise jaws. Note: The head of the bolt is not
resting on the parallel. The parallel also is helping me
establish a repeatable surface in the Z axis (up and down) because I'll need to turn the bolt over
and machine the opposite side as well.
|
|
 |
Here is what it looks like with two of the four sides machined. To
reduce the other two sides, I placed it back in my vise and machined the
other two sides while clamping on my newly machined surfaces.
|
|
 |
|
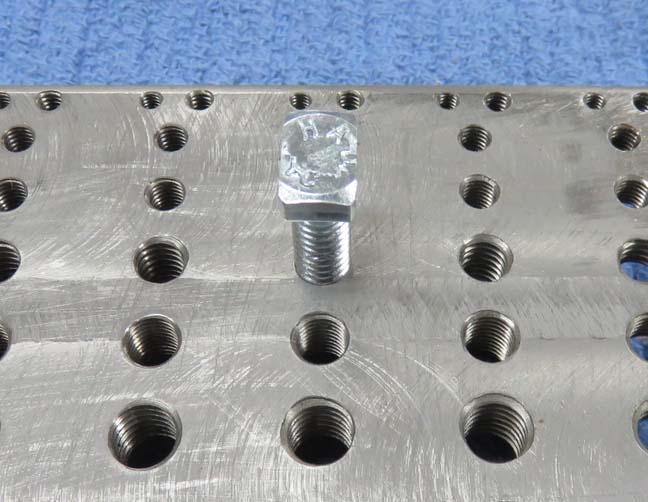
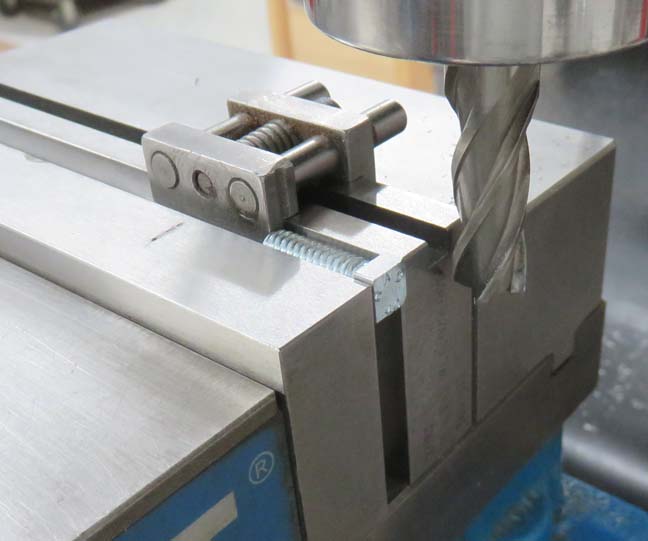
Now it's time to remove the identification on the ends of the bolts.
With the end of the bolt against my work stop, I can machine the heads
until I have a nice clean surface. This went fast because I didn't need
to take much material off.
|
|
 |
|
1
2
3
4
5
6 |