Making Changes Continued
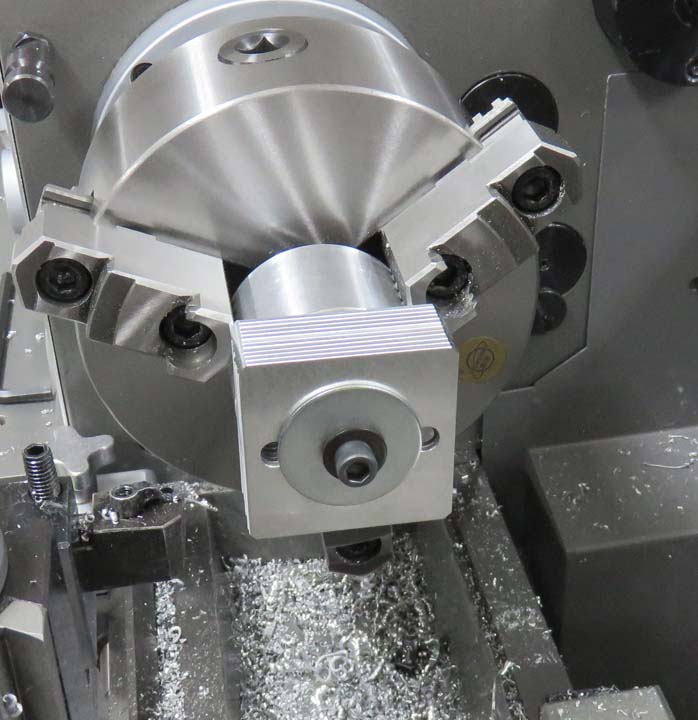
Here you can see that I've just started turning these pieces. If you look
close you can see the sharp corners are gone now and the parts will soon be
round.
|
|
|
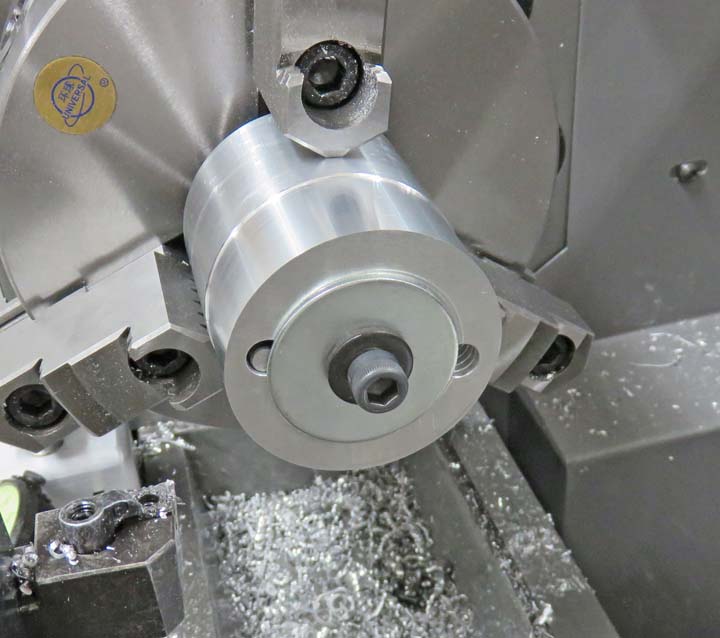
Here are the 11 pieces nice and round and now they will
need to be deburred. Notice the pin doesn't exit the parts here. This
way the washer is held against the parts only and the pin is out of the
way. I figured out how long the pin needed to be and then cut it to
length so it fits like this. On a side note: I just happen to have a large enough washer that
would work with this setup so I didn't have to make a custom one. Lucky
me!
|
|
|
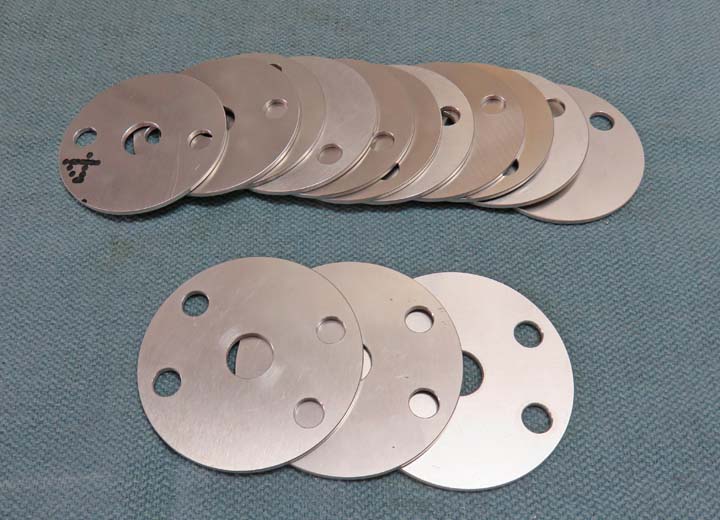
I did the deburring on my belt sander which was quick
and easy. Now they will need some paint as Matt and Angela didn't want things to look very modern,
but I'll get to that later. On the other hand,
I personally am all about
contrast and not having everything blending together. But this is their
project so whatever the boss wants, the boss gets :-]
|
|
|
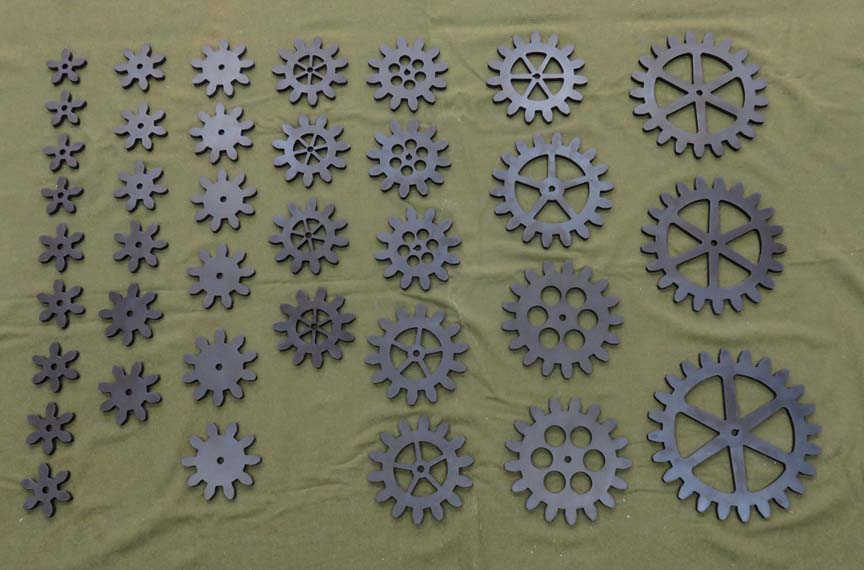
Back from Plating Here are all the gears back from the plating shop. They came out pretty
nice and the kids are happy with them. The one with the 12" pitch
diameter that you saw
earlier is at the bottom right. Now it's time to put these aside and
keep them clean until I need them.
|
|
|
Chains And Sprockets
Awhile ago I mentioned there would be some chains, and
to move those chains I'll be using sprockets. There will be three sizes
of sprockets,
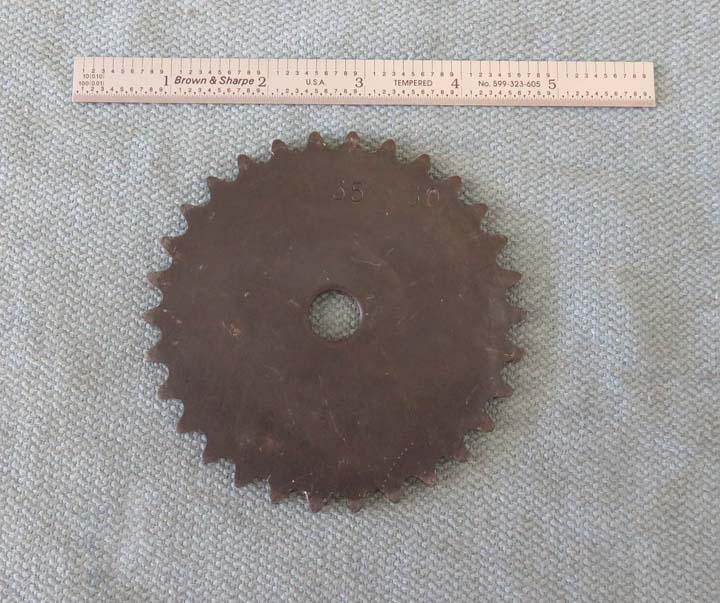
two 4" (below), one 5" and three 6". I'll be using a total of six
sprockets but two of them will be paired with gears. This 4" sprocket
that you see below has a 1/2" diameter hole in it. This hole is the same size
as all the shafts but the other two sizes (5" and 6") have an odd size hole
of .594" diameter. The oversize holes in these larger sprockets are
something I'll have to address because I found out when I was buying all
the sprockets
that once you get larger than 4 inches in
diameter, that's when the hole diameters increase. In other words, having
oversize
holes in the larger ones were unavoidable.
|
|
|
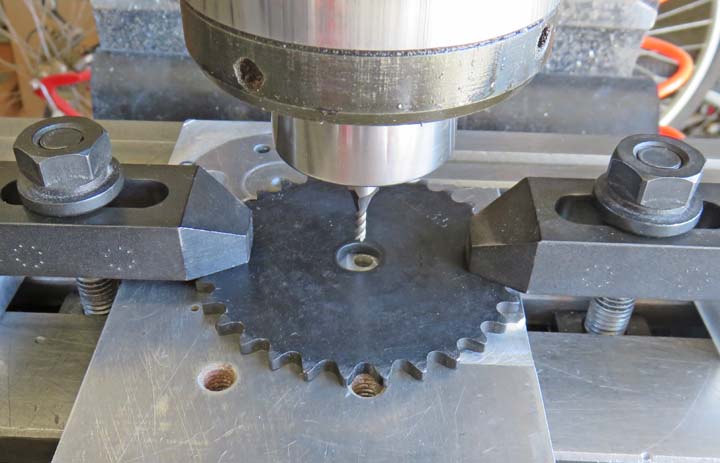
The only machining that I'll do on the 4" sprockets
is putting a keyway in it. This keyway, along with a key, will be used with the
corresponding shafts that will
drive the sprockets. I'm using an 1/8"
end mill here to cut the keyway, which will be 1/8" long X 1/8" wide.
I'll talk more about this size in a minute. To cut the keyways I used an
indicate to find the center and then machined them. This is a simple
operation and it went quickly.
Side note: the aluminum plate under the sprocket
is used as tooling and is sacrificial. When using a cutter that pass's
through your work piece (or drilling), you need something to cut into
other than your mill table. If you look close you'll see many holes in
this plate as it's been used for this many times over the years.
|
|
|
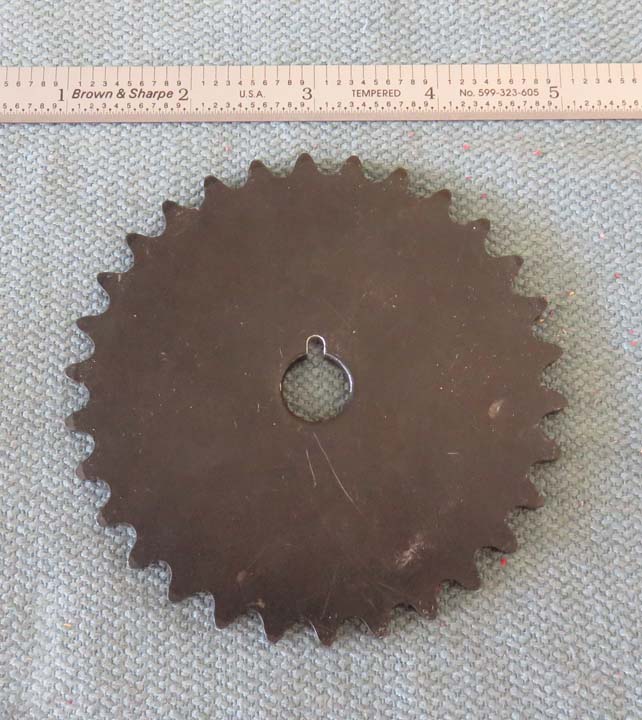
Here is the finished keyway in the 4" sprocket. The shaft
that has the keyway in it measures 1/8" wide by 1/16"deep. With that
size keyway you would normally use a key that measured 1/8" X 1/8"
(1/16" deep keyway in the shaft and 1/16" deep keyway in the sprocket).
However when I had the gears made by my water jet guy at R.I.
Industries, I drew the gears with a keyway size of 1/8" X 1/8". This
meant the key material would need to be 1/8" X 3/16" to fit correctly.
However this was something I planned on awhile ago.
|
|
|
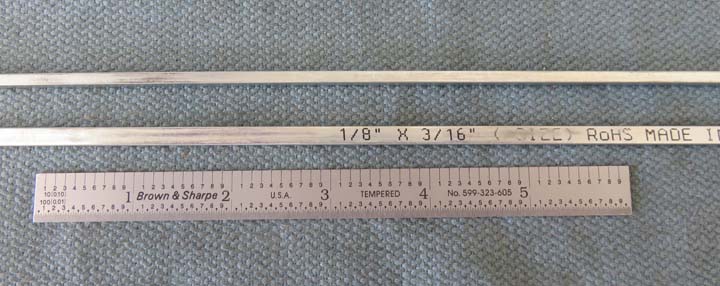
Here you can see I've got some steel key material that
measures the exact size I needed, 1/8" X 3/16". It seems McMaster Carr
has just about everything I needed which makes buying from them that
much easier. Now it's just a matter of cutting this material to length
later on.
|
|
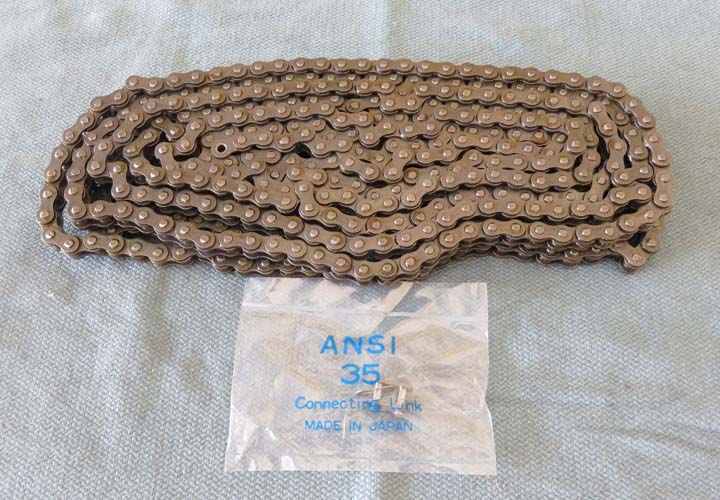
Another thing I purchased from McMaster Carr was this chain. I bought 20
feet of #35 chain which should be enough for all my needs, and a master
link was included.
|
|
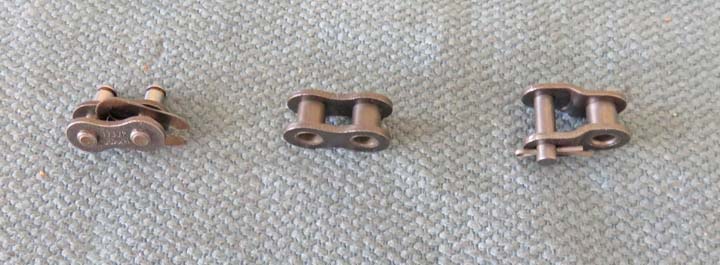
I didn't know exactly what else I might need so I bought a few different
types of links just in case they were needed because they were very
cheap.
|
 |
|
1
2
3
4
5
6
7
8
9
10
11
12
13
14
15
16
17
18
19
20
21
22
23 |