|
Sprocket Adapters Continued
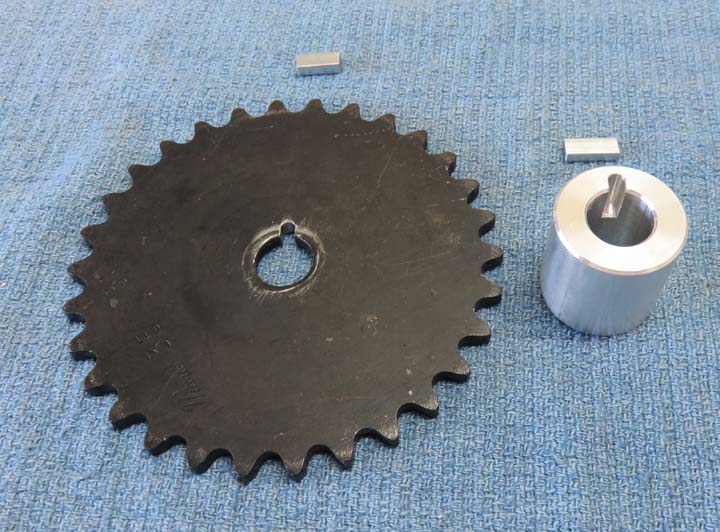
Essentially, this one's a spacer and it's the last and
easiest adapter that I've made. A keen eye will notice this is a different
one than in the
picture from page 14. I
don't know what I was thinking when I took that other picture but this
is the correct one. However, I will be using that spacer from page 14 on
something else.
This last adapter will be a gear/sprocket setup and will use
two keys. One key will be used with this adapter and sprocket and the
other key will be used with the gear only.
|
|
|
|
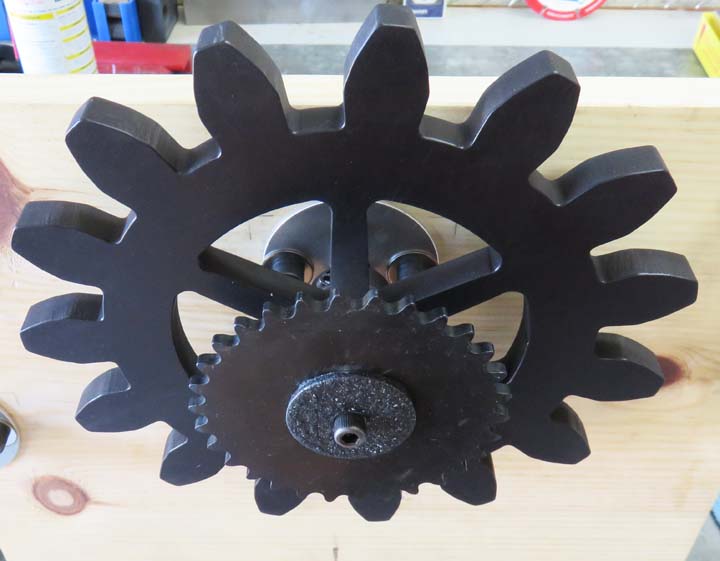
This is the 7 1/2" gear and the 4" sprocket. This
gear/sprocket combo will be used near the beginning of the gear puzzle
and will be the start of the sprockets and chains. From here the chain
will travel to a sprocket/sprocket, then to another sprocket/sprocket
combo and last to a sprocket/gear setup. All of the
shafts that have a keyway will not be removable, hence the bolt and
washer.
|
|
|
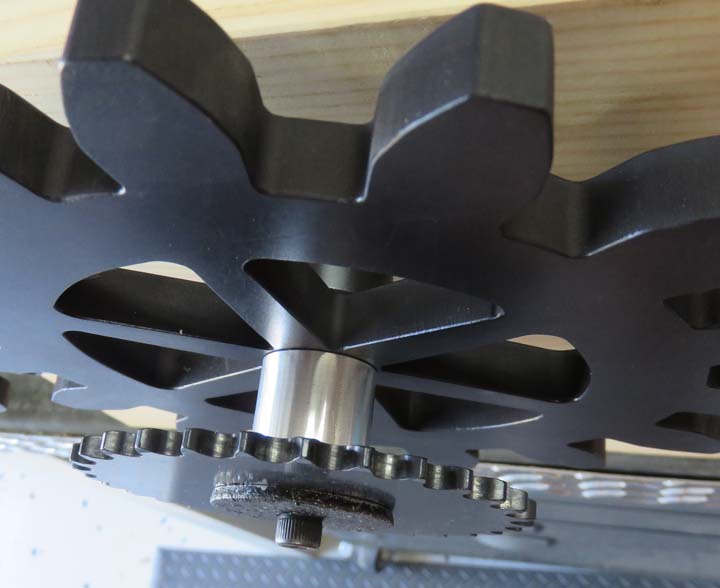
Here you can see the adapter in place and this one is
also ready to go. Basically the sprockets and chains are for looks (or
'cool factor') and will be fun to see moving when someone is turning the
crank handle.
At this point I'm getting closer and now it's time to
work with that spacer I had on page 14 soon.
|
|
|
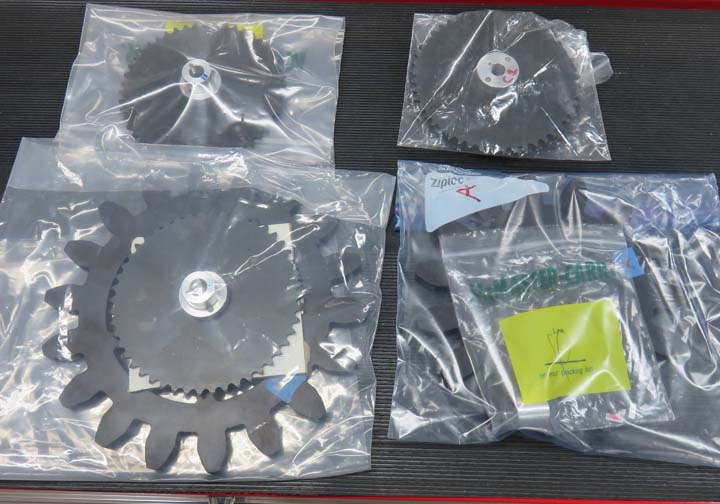
I separated all the adapters, gears, and sprockets into
their respective bags so they stay clean and so I don't loose any parts.
At this point I'm just about finished making component pieces. But I'll have more
things to make once I'm finished building the wooden box that the 4' X
8' piece of plywood will attach to.
|
|
|
Bearing Block
7-2017
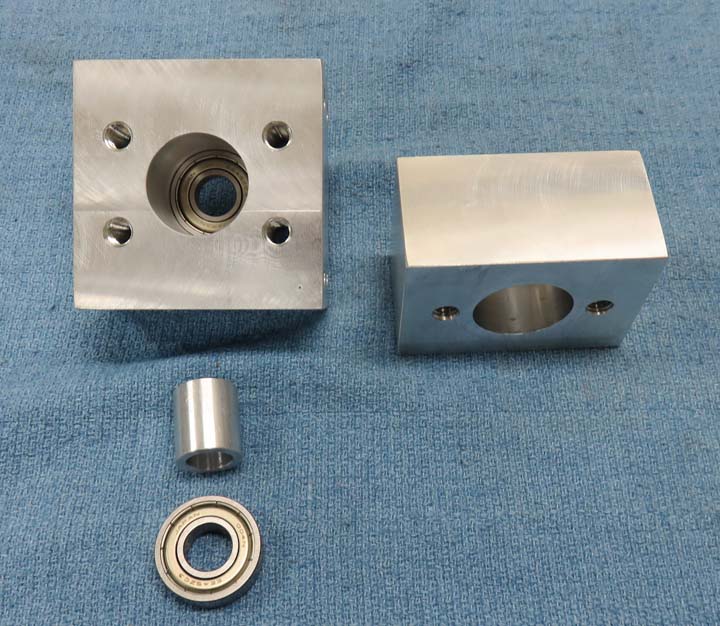
My original plan was to use the smaller bearing block (on
the right) for the very first gear. This would make sense because all of
the other non-removable gears have a block like this so why would this be
any different? However, this gear will be the one that has
the hand crank. And this hand crank will be used over and over again many
times a day and once I started thinking about it, I decided to use a
larger bearing block. The main reason I wanted this larger block is
because it has four mounting holes. These extra mounting holes should
come in handy when people are turning the hand crank, which will apply forces in
all different directions when turned. Now this bearing block is the
extra one that I made while machining the miter gear box awhile back so
why not use it! Now some might say that it's 'over engineered' at this
point and I'm over thinking it. However
I like the extra stability this block provides and I wanted to be on the safe
side here. Besides, it was an extra...remember?
You can see I have one bearing installed here and the
spacer below it will be placed between the two bearings. This again
should help with the stability and reliability of this part working for
a long time without something going wrong.
|
|
|
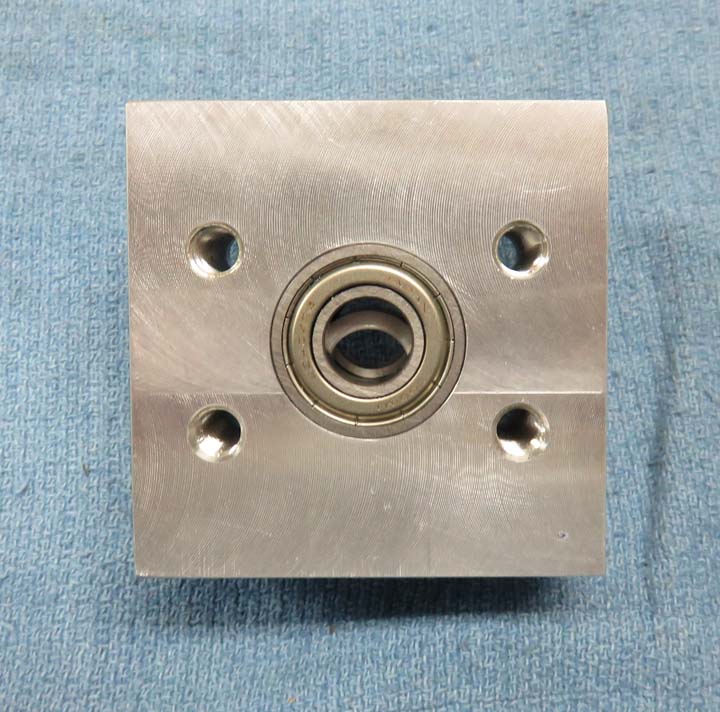
Both bearings are in place along with the spacer. And
the spacer has a couple of thousandths of clearance between the bearings
which should be just enough for this setup (which is why the spacer is
below center). Getting the spacer on center so the shaft goes through it
is not a problem and is quick and easy.
|
|
|
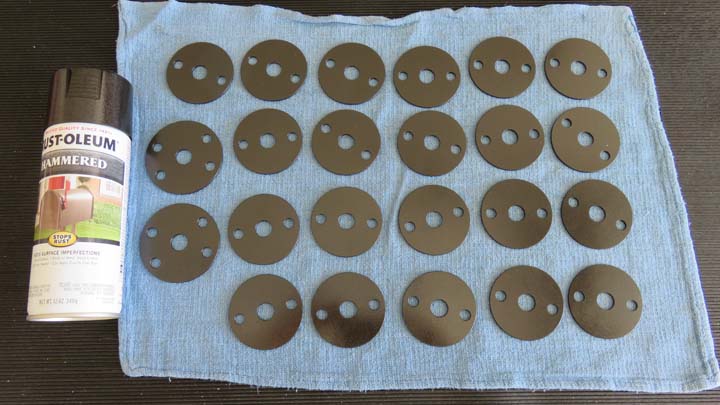
Painting the Trim Plates
If you remember from awhile back, these are all the trim
plates that the kids wanted round, and painted. To make that happen I cleaned them with lacquer thinner
before I applied any paint. This procedure removes any dirt and oil
so the paint will adhere better. Just pour some thinner on a paper towel, wipe
the surface and sides and you're good to go.
|

|
|
I used a type of paint called 'Hammered' by Rust-Oleum
that worked really well. The surface of the paint is glossy but the
texture of it looks like 'orange peel'. However this is the way this paint
was designed and
looks pretty cool. The black areas that you see are shadows and are not
on the painted surface.
|
|
|
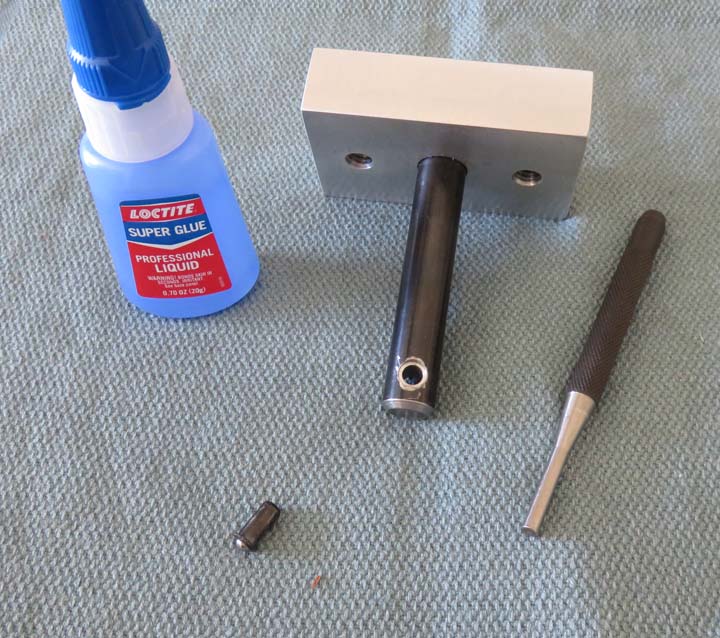
Another Glue Test
When I was at the hardware store buying paint, I saw this Super
Glue made by Loctite. Well that got me thinking about the age of the one
that I used
earlier and thought I'd try some new stuff.
Side note: I didn't know there were so many different
kinds of Super Glue on the market, from the same company no less (Loctite).
There were four different kinds of Super Glue on the shelves and I had a
hard time picking one out. And if you count the ones from different
companies, I'd say there were about 10 types. I had no idea...wow! Let's
see what happens...
I did this test like the last one, cleaned the ball
plunger and hole with lacquer thinner, put one drop on the ball plunger
and let it set overnight. The results were about the same as my first
Super Glue but then I had an idea. I cleaned both pieces again and tried
two drops this time and let it set overnight.
Well using two drops changed things, it held much
better, but not too much. You might call this one 'The Goldilocks'
moment because it was just right! I was able to tap it out but it
took a few more hits than before so it should work great. I really like
the way this one held but it could still be removed if need be. I
believe we have a new method and some new glue as well.
|
|
|
1
2
3
4
5
6
7
8
9
10
11
12
13
14
15
16
17
18
19
20
21
22
23 |