|
I was working on a something the other day and while I
was in the middle of it, I had an idea on what to make for my next
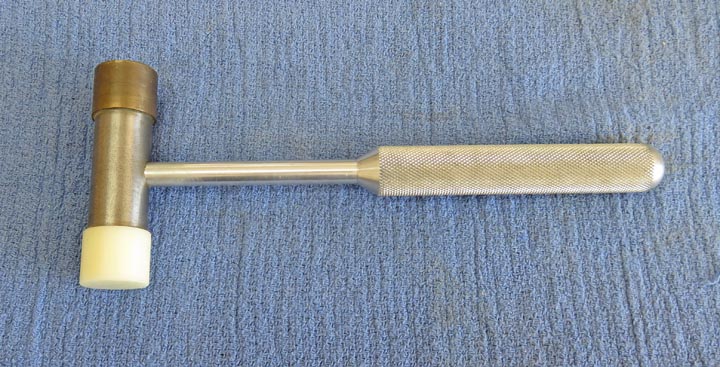
project, You see, I was using the hammer that you see below, and was
thinking about just how handy it is to use. The reason it's so handy is
because of it's smaller size along with the two softer
materials on each end.
Now I made this hammer many years ago and I've used it
a lot of times for smaller jobs. It has brass on one end and Teflon on
the other, which is a great combination depending on what you're working
on. These two materials work well together so it doesn't harm your work
piece.
It's also light-weight and is easy to use compared to a larger size
hammer, (like the ones hanging on the wall above my work bench).
I've used the Teflon side to tap on a piece that I'm
indicating on for the lathe or milling machine. And the brass side is
perfect to tap in smaller dowel pins (metal or wood ones) or other types
of delicate work. Anyways, while I was using it, I thought that some of
my family members might like one of their own, either for a birthday
gift or a Christmas present. So this is what I'll be making this time,
some hammers.
|
|
|
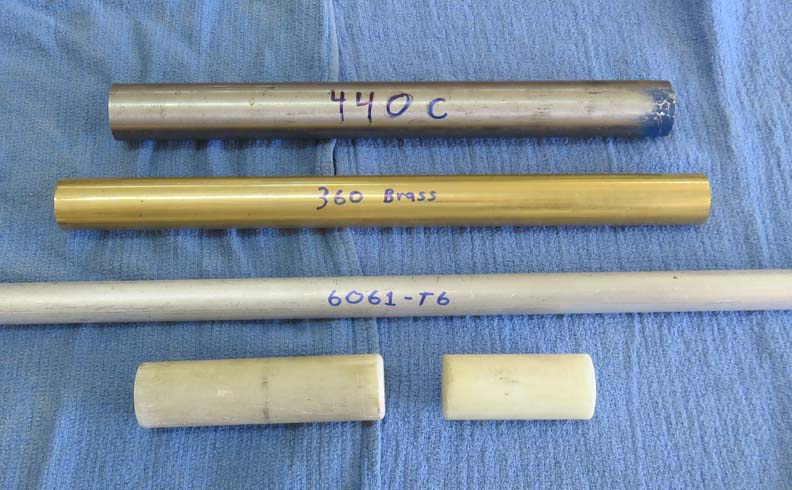
Working With Metal Here is the material
that I'll be using for the new project.
Starting at the top is some 440C stainless steel which will be used for
the center section of the head. Second is some 360 brass, which will be
used in two places; on the head and at the bottom of the handle. Third
is some 6061-T6 aluminum that will be used for the handle. And forth is
some Teflon that will be used on the other side of the hammer head. I'll
talk about each one in more detail later on.
|
|
 |
|
I started with the Teflon and turned the outside
diameter (O.D.) to .900 which is just under one inch. Next I drilled and
tapped 1/2-20 threads about 5/8" deep. Then I parted it off to 3/4"
long. Now the brass pieces will be the same size but I'll be using
1/4-20 threads in those pieces. The reason for the different size is because the brass
is much heavier than the Teflon, which is why I'm using a much larger
thread here, to help offset some of the weight difference.
|
|
 |
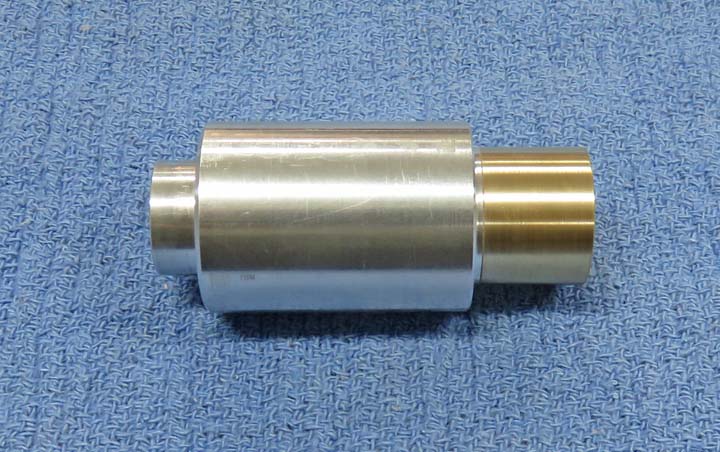
I made some tooling to hold both styles of the brass pieces. On the
right is the one that will be fastened to the head. And the left side
will be use for the end cap that goes on the handle.
|
|
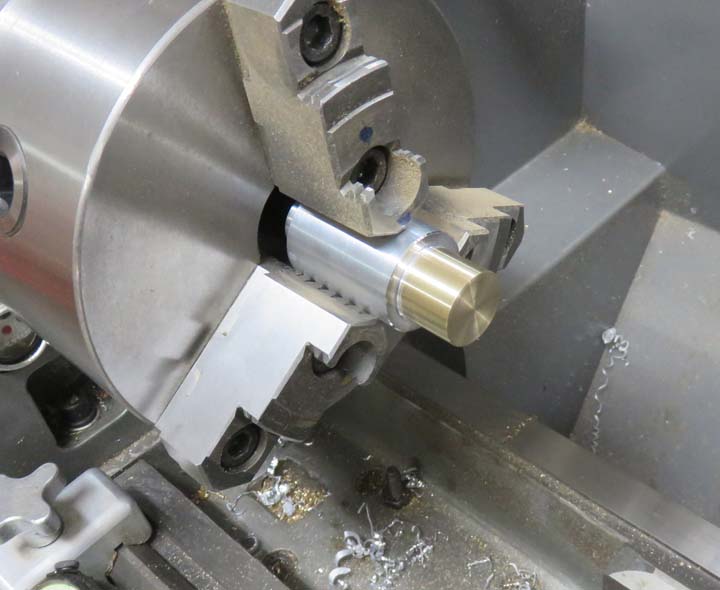
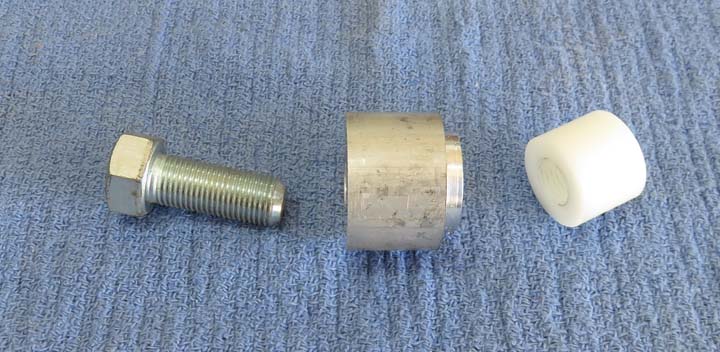
I used a 1/4-20 bolt (that goes through the aluminum tooling) to hold my
part while I finished turning the O.D; faced the end and then chamfered
it.
|
|
|
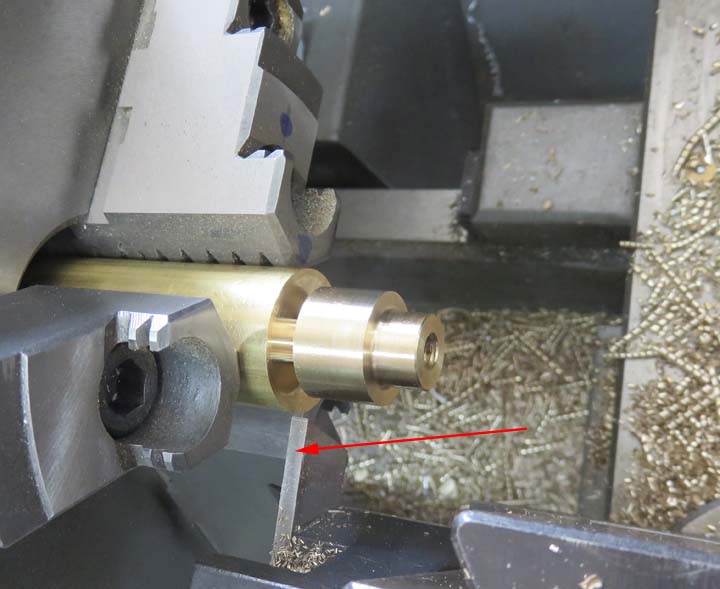
Continuing with the brass, here I'm making the end caps
that will fasten to the bottom of the handle. The larger O.D. is .760"
(just over 3/4") and the smaller O.D. is 1/2" that will go into the
handle. And if you look close you can see the 1/4-20 thread that is
about 1/2" deep. The last step is to part if off (or cut it off) which
the arrow is pointing at. I left about .010" on the length which I'll
remove later.
|
|
 |
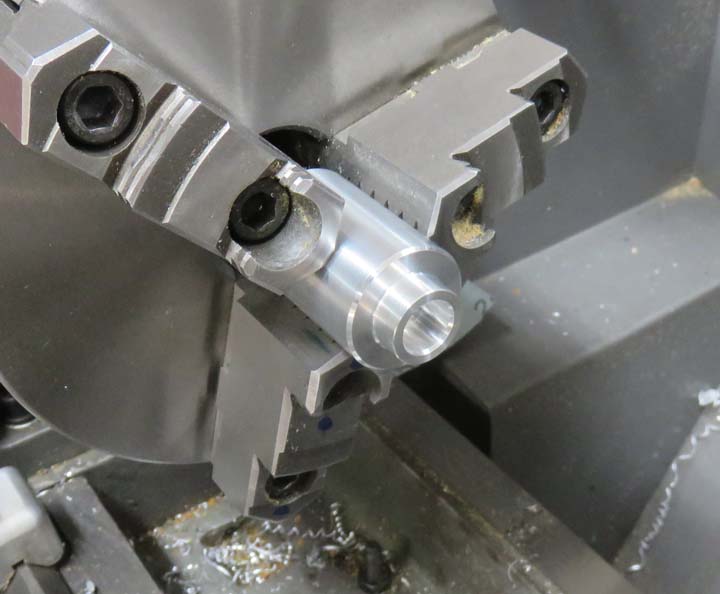
Here is the opposite end of the aluminum tooling which is for the end
caps. The 1/2" diameter of the brass fits into the bore of the tooling and is held in
place with the same 1/4" bolt I used earlier.
|
|
 |
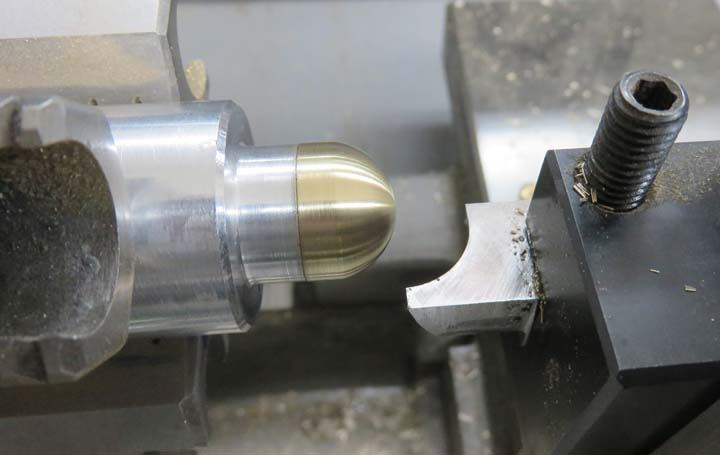
After a few minutes with a form tool, I now have a full radius for the end
cap.
|
|
 |
I finished turned the O.D. to .750" diameter and then cut the radius
with my form tool. I used a slow rpm here so it didn't chatter, which
worked out pretty good.
|
|
 |
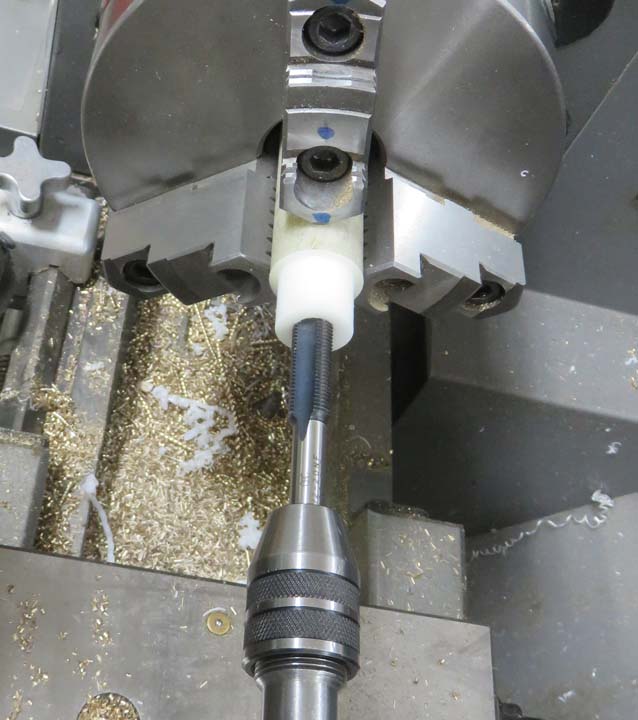
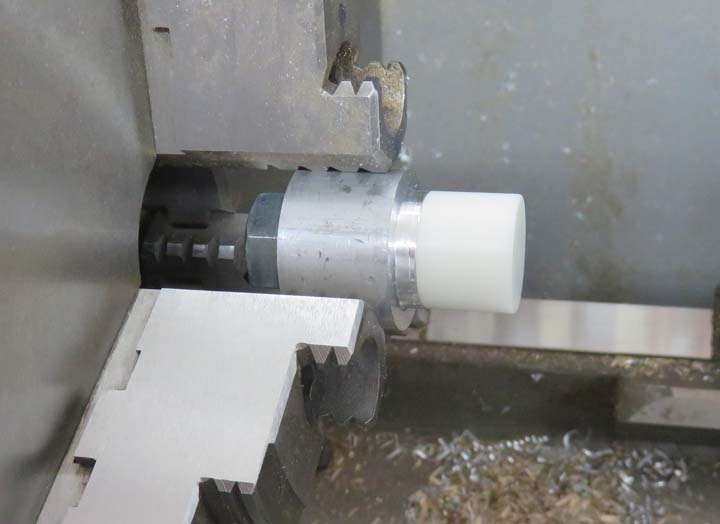
To face the ends of the Teflon I used another piece of tooling to hold
my work piece while I machined it. And as you can see, the bolt is much
larger, at 1/2" in diameter.
|
|
 |
I was able to finish turn, face and chamfer just like the brass pieces. This
operation went fast and worked out great.
|
|
 |
|
1
2
3
4
5
6
7
8
9 |