|
Working With Metal Continued
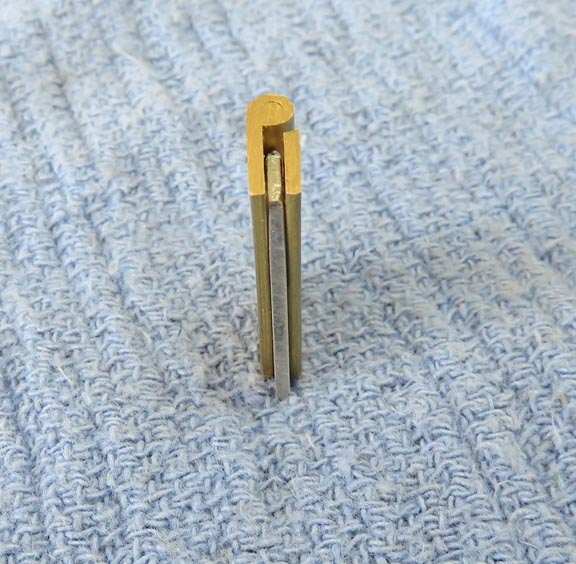
Here you can see what I was talking about on the last
page. Once both pieces of the hinge are parallel with each other, there
is a gap. I placed the cardboard between the sides of the hinge to show
you what I'm talking about. But I'm also going to use this cardboard to
help me machine them as well.
|
|
 |
|
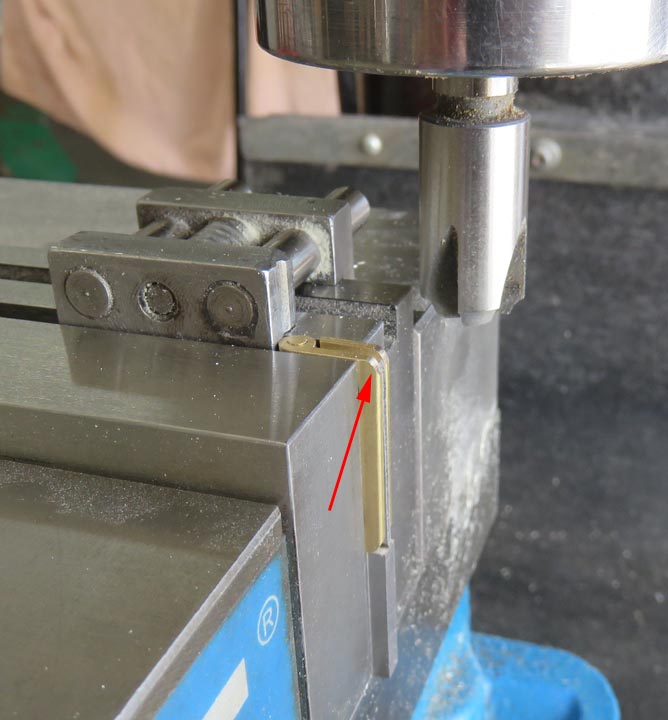
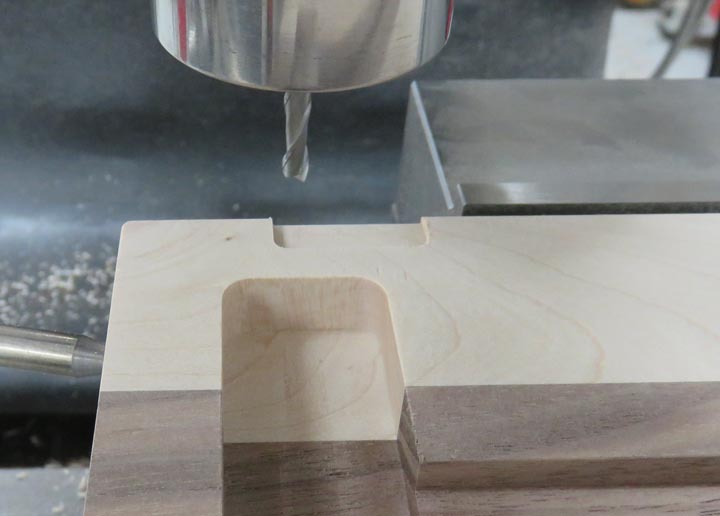
What I plan on doing is rounding the corners of each one
to make it easier to fit into the pocket that I'll be cutting for them.
Now I realize that I could have used a hammer and chisel to make square
corners in the pocket without doing any of this. However, this process
goes fast because the radius is small which means I can take just one
cut here.
|
|
 |
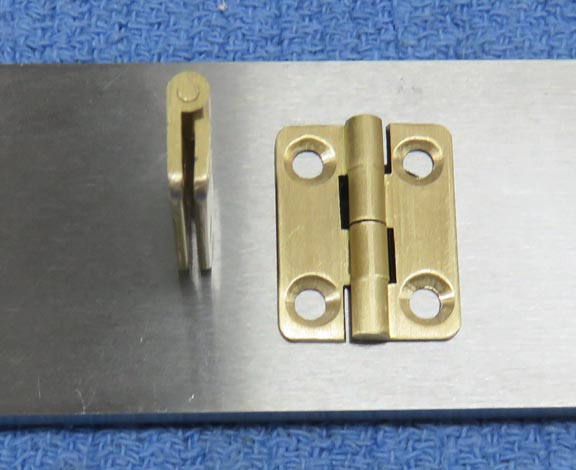
Here is what they look like with some rounded corners. This didn't take
long and will work better for me now.
|
|
 |
|
Here I'm doing some testing before I cut the pockets in
the real pieces. After a few different tries, I found out that the way
these hinges work isn't what I thought. That meant I had to use slightly
different depths to have the two pieces close properly. That's the good
news, the bad news is that I wiped out a few of the screw heads in the
process because of how many times I installed and removed them, along
with how soft they were.
|
|
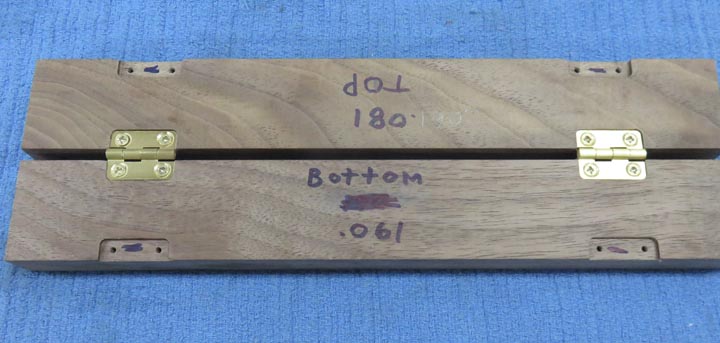 |
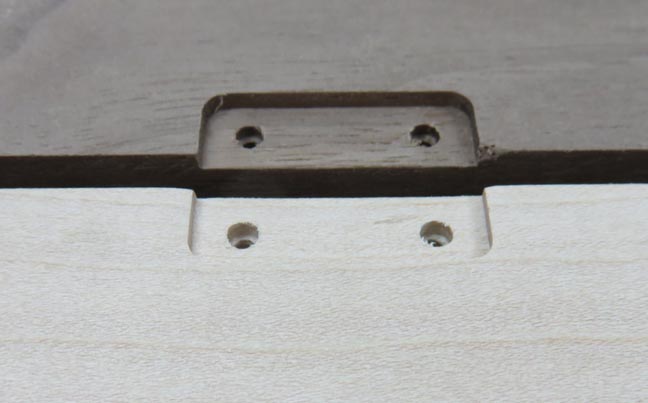
Once I knew what depth to make each pocket, I cut them in each piece
accordingly.
|
|
 |
Next I drilled the pilot holes for the small #2 screws. But now I have
to fix some other problems...
|
|
 |
|
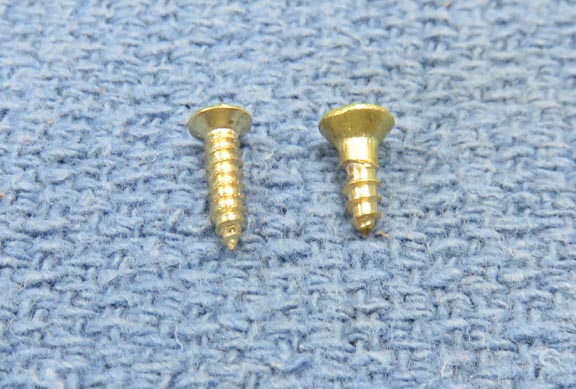
What you see on the left is the #2 screw that came with
the hinges. However, I messed up about half of them as I was doing the
testing. The one on the right is a #3, that I bought from the hardware
store and I would've bought the #2's but they didn't have that size.
I'll need to fix a couple of things to be able to use
the new screws. First you'll notice the full threads on the smaller
screws, compared to the other one that has a small shoulder, which is
typical of wood screws. However, this will not screw into my work piece
like this so I'll have to modify the pilot holes slightly to accommodate
the difference.
|
|
 |
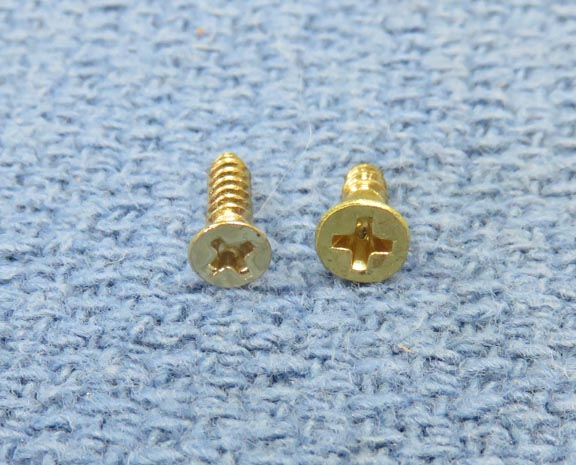
You can also see the head size on the new one is slight bigger. That
means I'll have to machine the countersinks on half of the hinges so
they will close
properly.
|
|
 |
|
I used one of the pockets in my test piece to trap the
hinge so it didn't spin. I held one side with my hand while I enlarged
the countersink. This worked out but I kept a keen eye on things while I
was doing this.
|
|
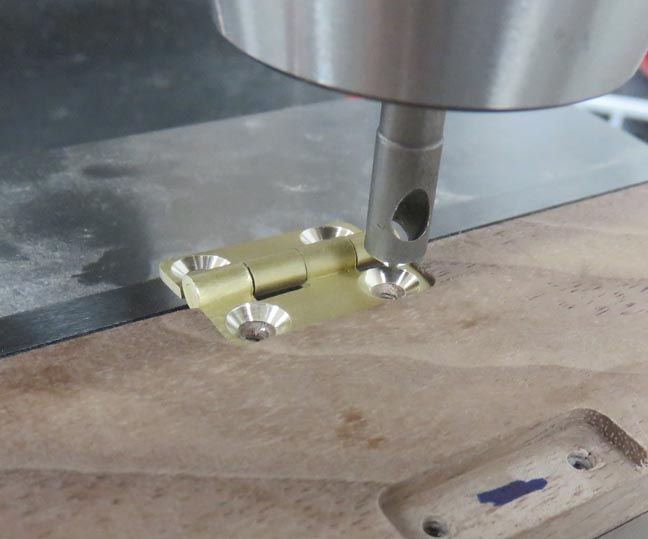 |
I used a drill that was the same size as the shoulder on the new screws
to make some much needed clearance for them. This didn't take long once
I got going, but it was a slight set-back.
|
|
 |
|
1
2
3
4
5
6
7
8
9 |