|
Working With Wood Continued
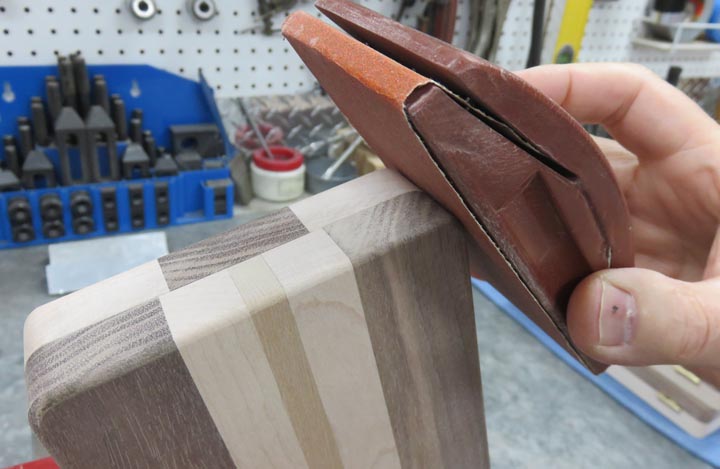
I finished the corners (from my belt sander) with a sanding block
using 150 grit paper.
|
|
 |
|
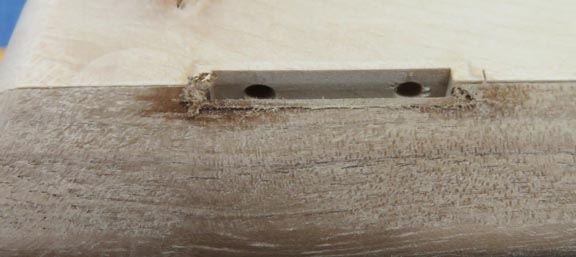
To address the area that was left around the hinge after
machining I used my same sanding block with 150 grit paper. What I did
was remove one hinge at a time and then did my sanding. This way I was
sure that my alignment would stay where it needed to be. This didn't
take long and the results were consistent.
|
|
 |
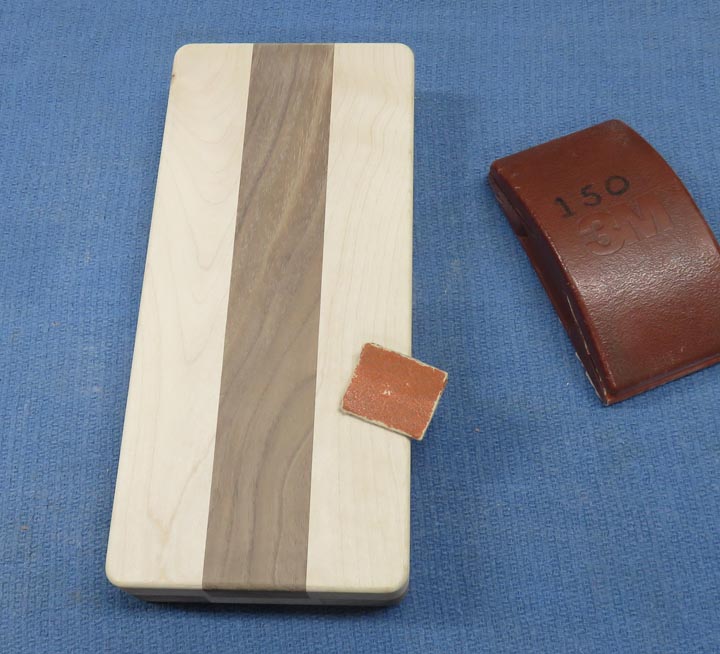
Then I gave the entire box a once over with the same grit paper. I hand
sanded all the radii along with some other spots.
|
|
 |
|
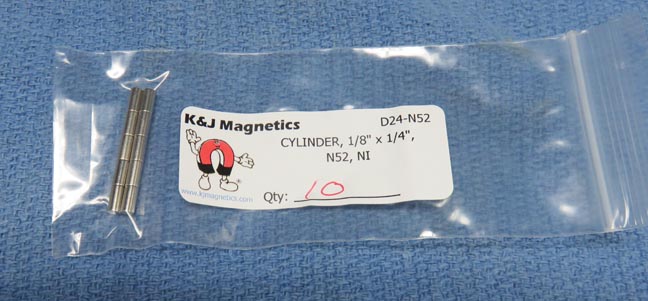
To keep the box closed I'll be using some small magnets.
My idea is to use two per box, one half using the South and the other half
using North. This way they will attract each other keeping the box closed. I
bought two extra just in case something goes wrong. The size of the
magnets are 1/8" diameter X 1/4" long.
|
|
 |
|
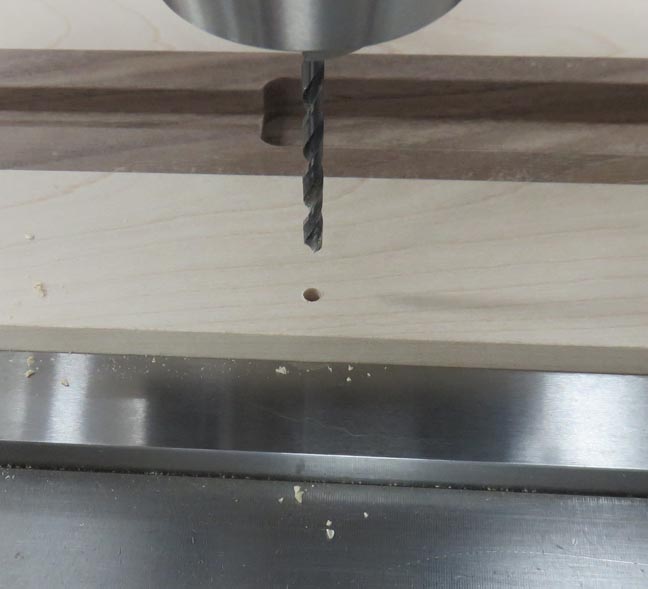
I did some testing on some scrap pieces to make sure I
had everything right. First I used a center drill to make sure the hole
was in the correct position. Then I used a 15/64" drill and went .300"
deep. And last I used a slightly undersize 1/8" reamer (.124") and went
.260 deep. The depth of the reamer is .010" deeper than the length of
the magnet.
|
|
 |
I set up a work stop on the left side so I could do all the operations
back-to-back. Here I'm drilling the 15/64" hole.
|
|
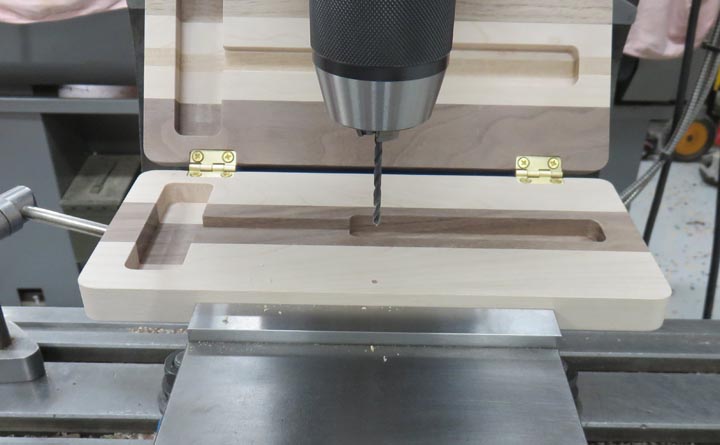 |
The hole is about 3/8" from the edge of the box and are blind holes
(they don't go through).
|
|
 |
I used my soft-faced hammer to get the magnets started.
|
|
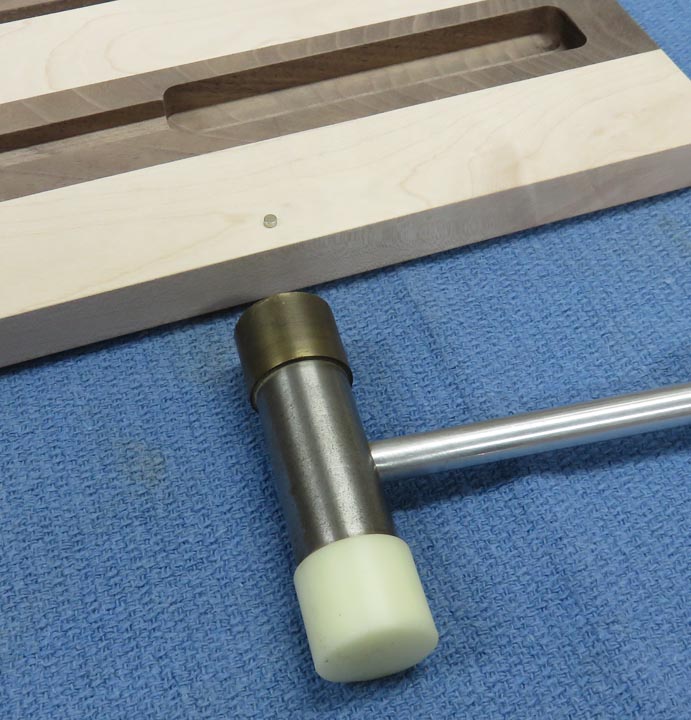 |
And I made sure that I had the poles orientated correctly because once
these are flush with the surface, that's it.
|
|
 |
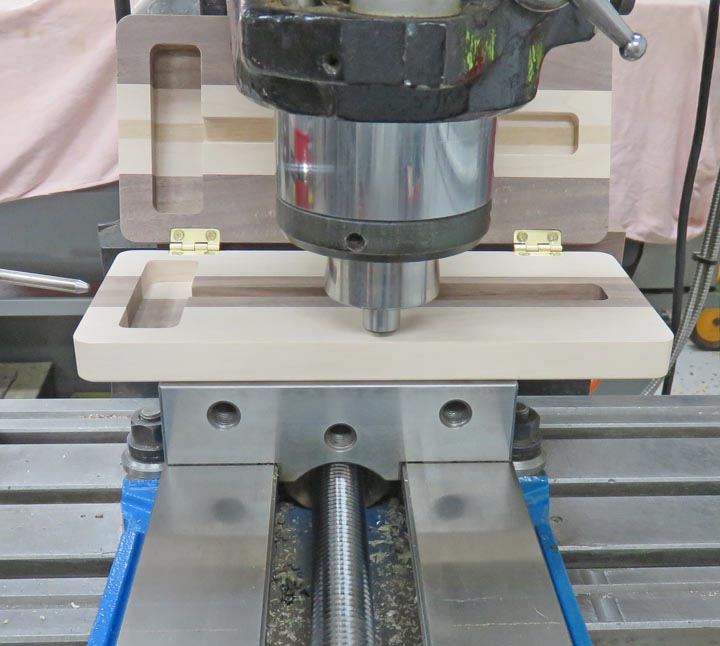
I used the quill on my milling machine and a 1/2" dowel pin to press
the magnets flush with the surface.
|
|
 |
|
1
2
3
4
5
6
7
8
9 |