|
Assembly Continued
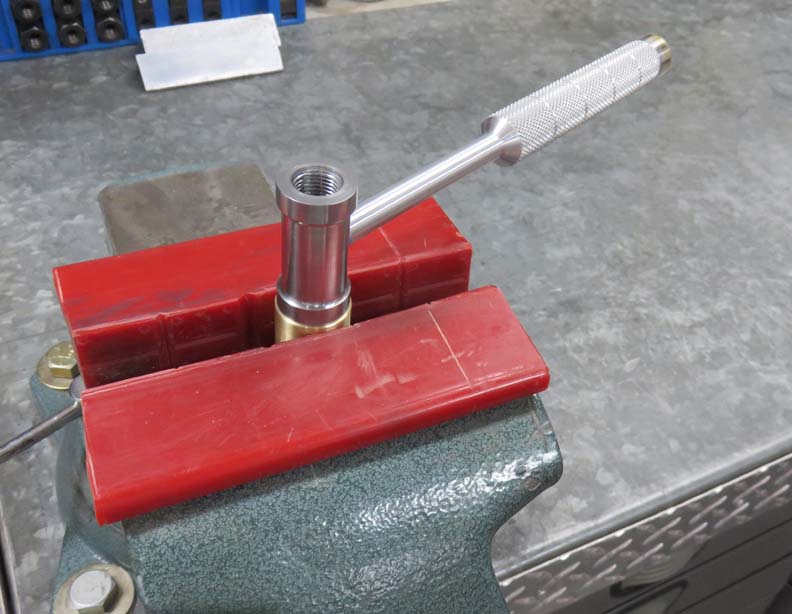
The same process was used for the soft face pieces. Soak
the threaded pieces in thinner, blow them dry, apply some Loctite and
then I used my bench vise with some soft plastic jaws to help hold
things. With the soft face piece in the vise, I used the hammer handle
as a lever and tightened things together. This process worked great and
went smoothly.
|
|
 |
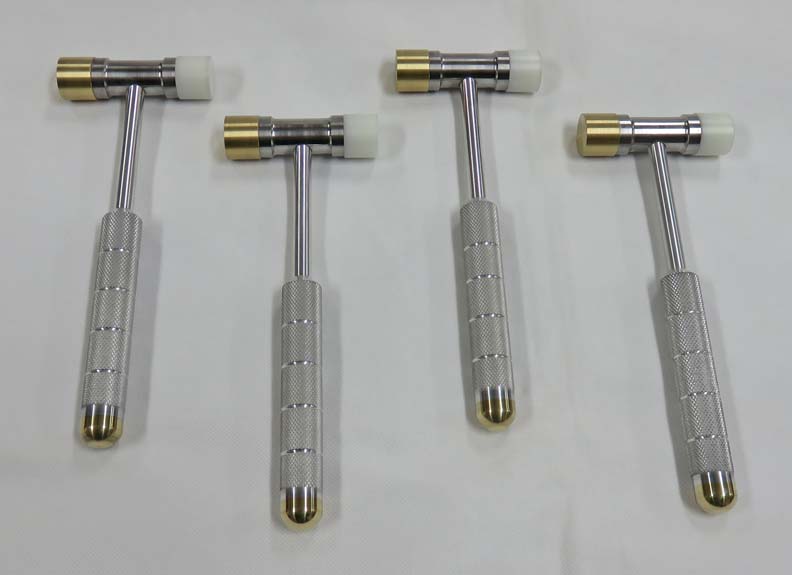
| It's Finished
Here it is all finished.
|
|
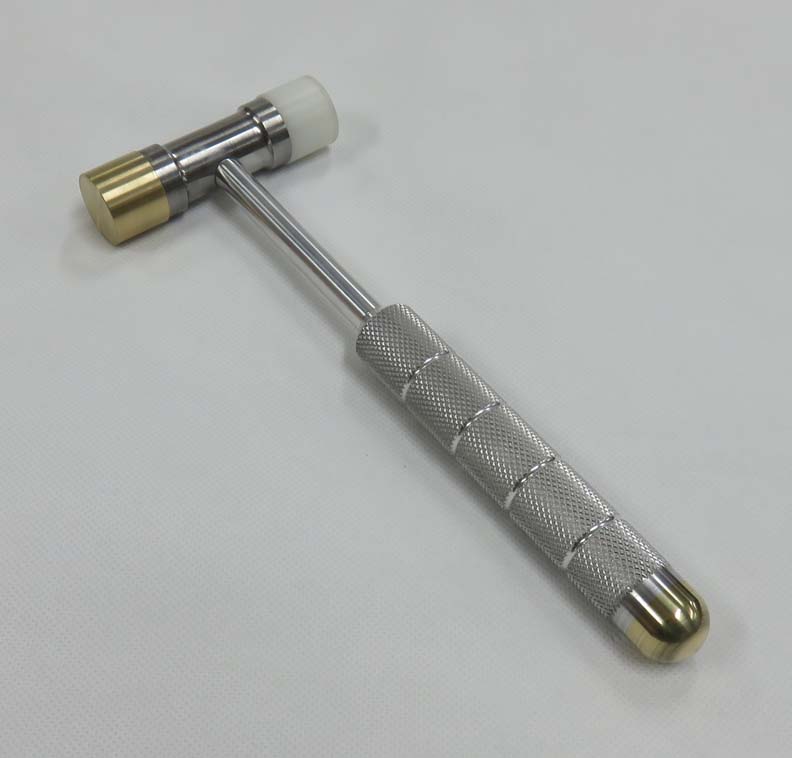 |
I didn't polish the soft face brass on the head so it would be a nice
contrast.
|
|
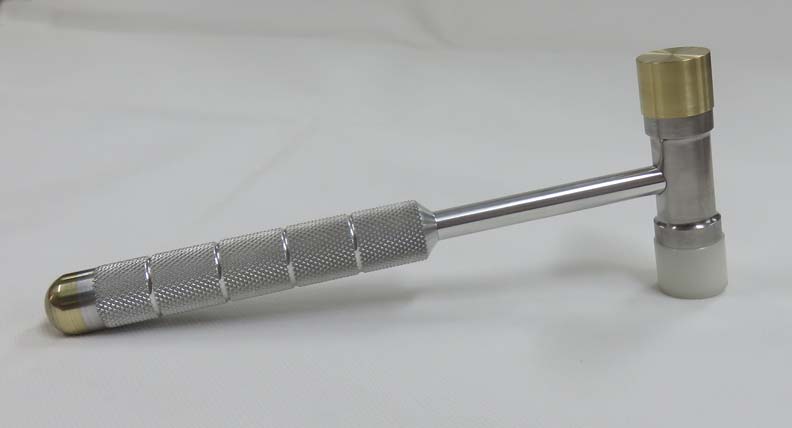 |
A close-up of the head.
|
|
 |
That handle feels good in the hand, not too sharp but not slippery
either.
|
|
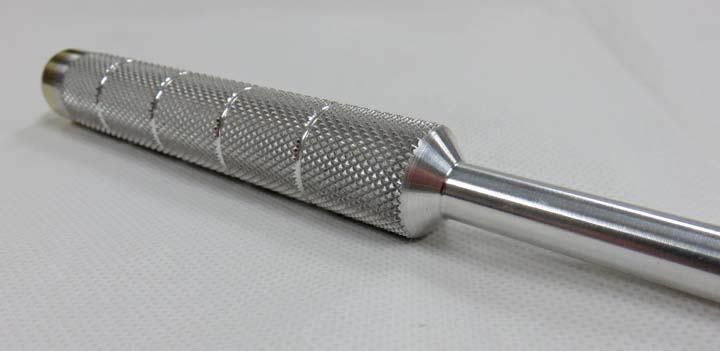 |
Here is what I was talking about with the test fitting. By using the
3/8" end mill during the threading operation and going in just a short
distance, it created a hiding spot for the threads and it ends up being a
cleaner look.
|
|
 |
|
And there we go, four hammers that will go to family members for
birthday and Christmas gifts. But then it hit me, where will each
person keep them or store them at? In the junk drawer? A tool box? Hanging on the
garage wall? Well, let's just say I went down the rabbit hole here... because...wait...there's more!!
|
|
 |
|
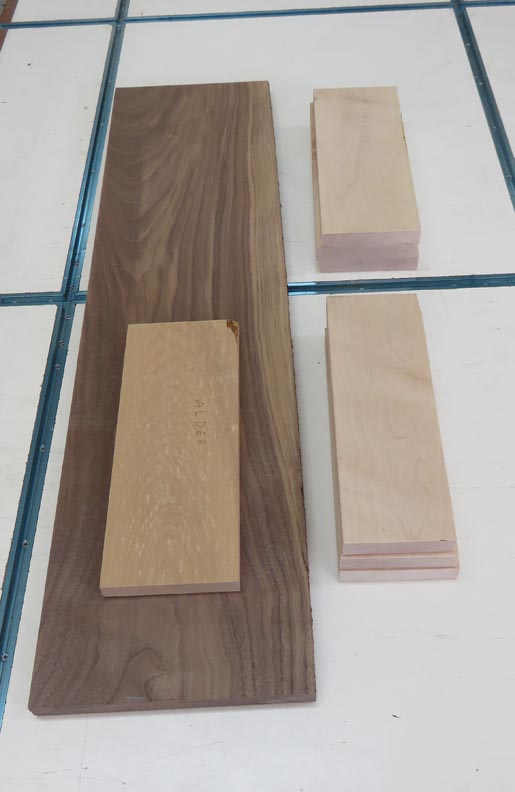
Working With Wood
Once I was finished making the hammers, I figure it
would be appropriate to present them in some kind of box. So...that's
what I'll be making now and I'll be using black walnut, maple, and
alder.
|
|
 |
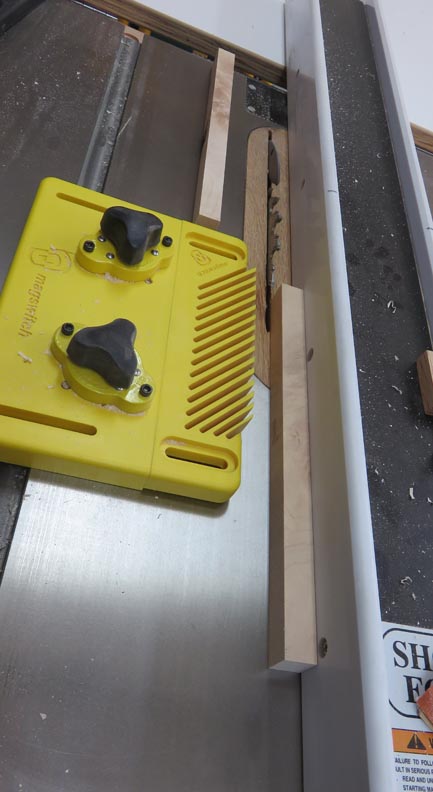
Here I'm making some smaller pieces that will be part of the box.
|
|
 |
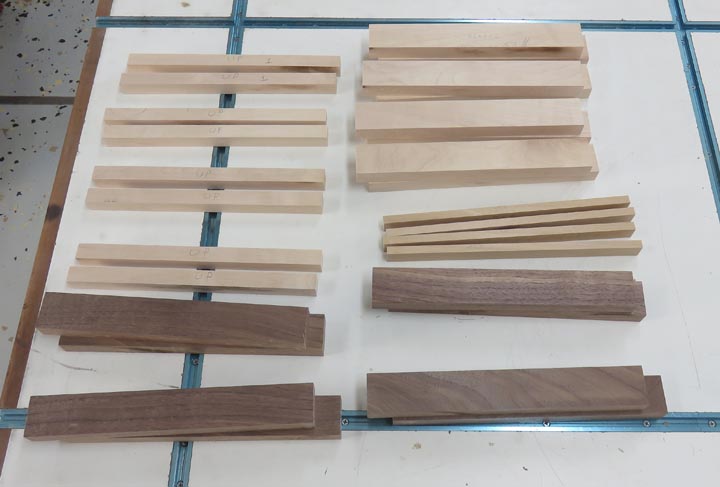
After a few minutes on my tablesaw, this is what I'll be using.
|
|
 |
|
1
2
3
4
5
6
7
8
9 |