|
Working With Metal Continued
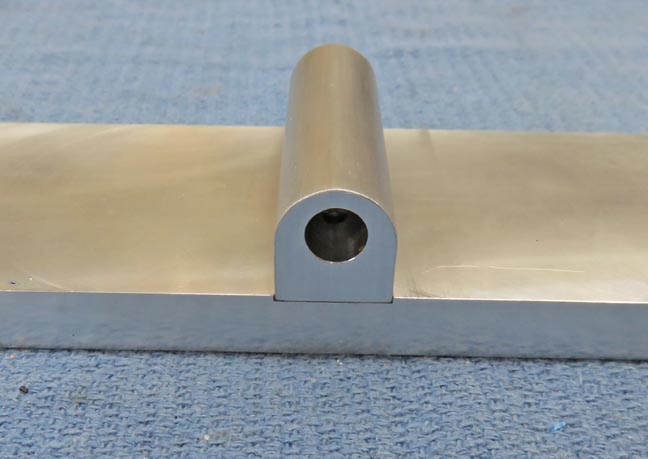
Here is what the block looks like installed. This will act as my
pivot point, like a teeter totter if you will.
|
|
 |
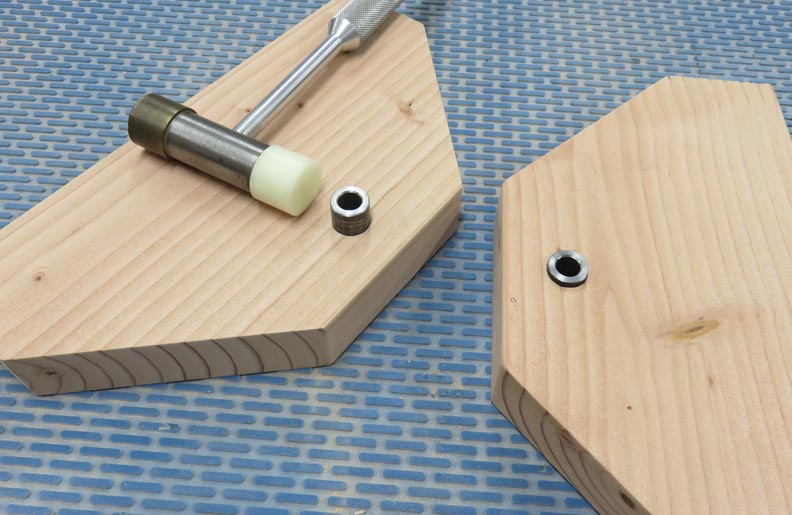
Here I'm installing the bushings with my
trusty soft-faced hammer. The press fit on those bushings was perfect
and shouldn't move once they're at the final depth.
|
|
 |
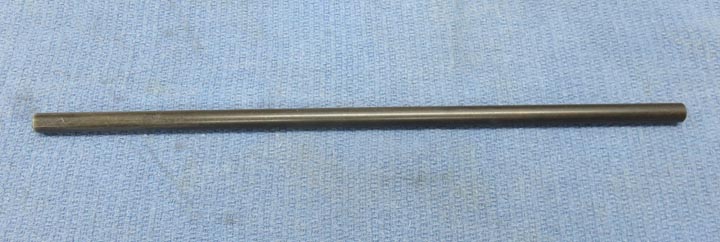
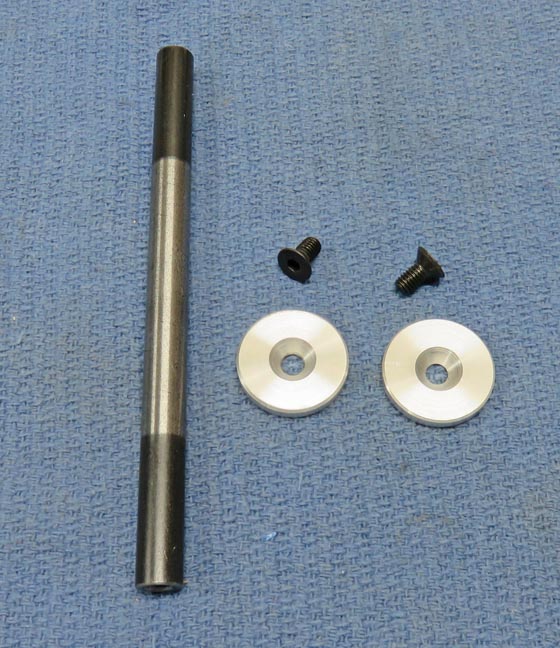
This is 3/8" diameter bar stock that is 12" long. It's 1045 steel and it
should work great for the pins as my pivot point.
|
|
 |
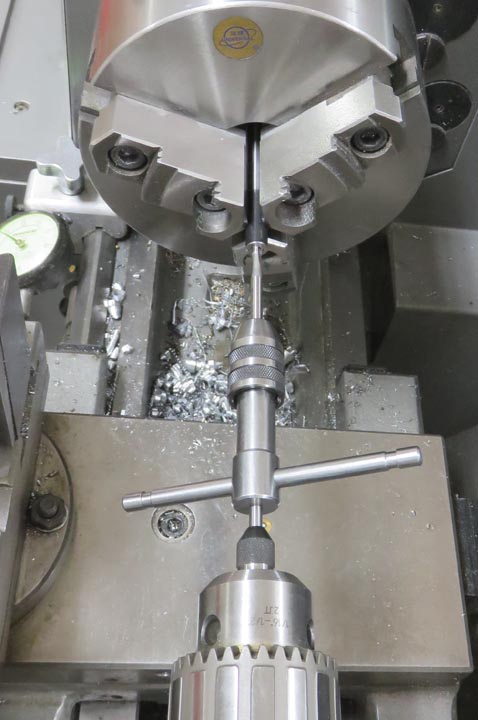
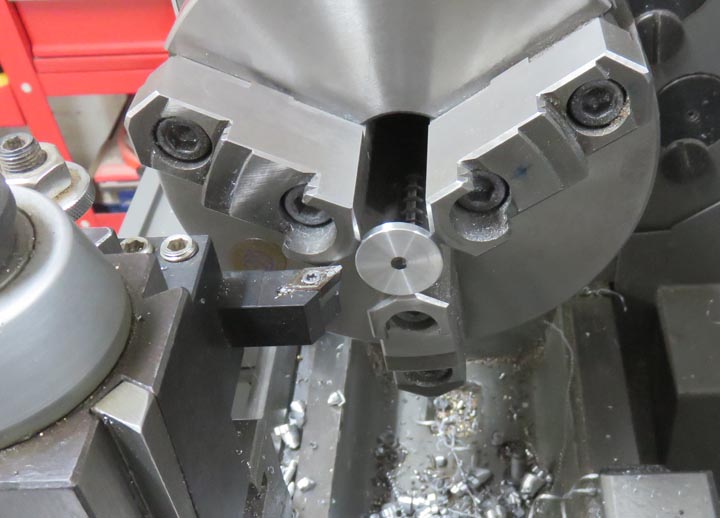
I drilled and tapped both ends of the pin with 8-32 threads after machining it to
length.
|
|
 |
to make sure the pin stays in place, I made some end caps that have a
clearance hole for the 8-32 screws. There will be two on each scale.
|
|
I sanded the center of the pin with some fine paper to make sure the
friction is reduced to a minimum.
|
|
 |
Here you can how the pin looks once it's in place. The balancing arm
will pivot on this pin.
|
|
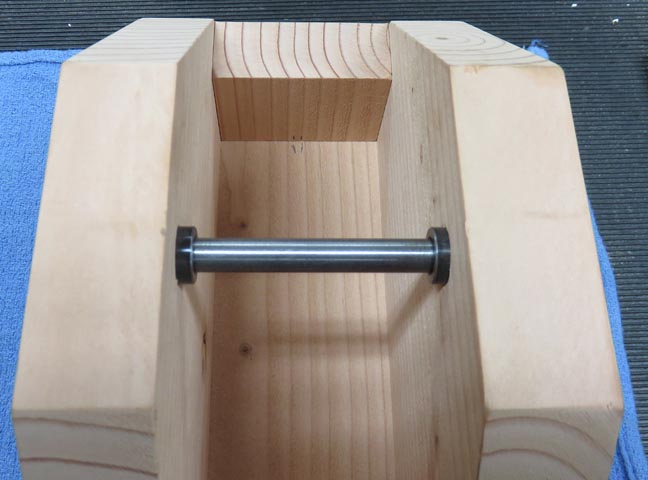 |
Here you can see the end caps which will keep the pin from going
anywhere. Now it's time to work on the aluminum cylinders.
|
|
 |
|
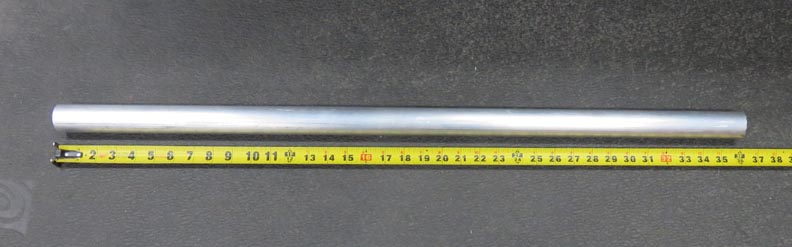
This is 6061-T6 aluminum that is 1 1/2" diameter by
three feet long. This is what I'll be making the cylinders out of. Now
these cylinders are going to be used as counter weights but each one
will be the exact same size. I'm going to hollow out each one and add
weight to them so they will correspond to their matching gold pieces. The
idea here is to make it harder for the people playing to match up the
correct cylinder to the gold pieces.
|
|
 |
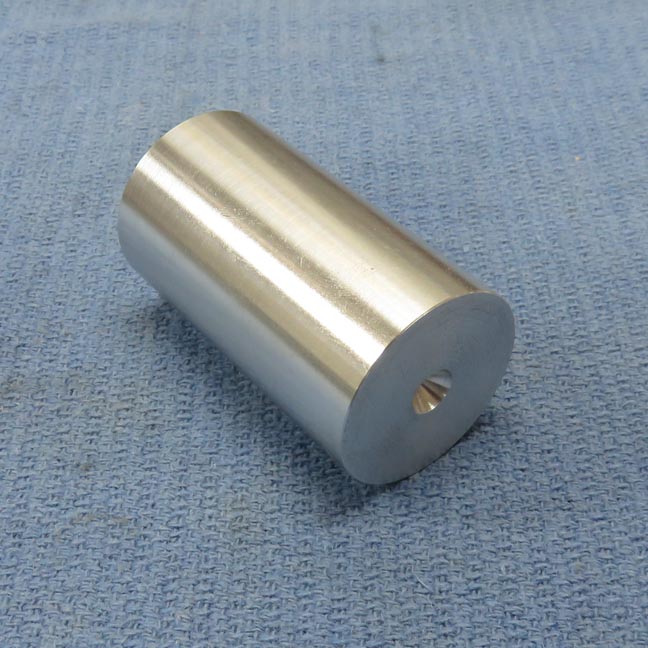
First I gave each piece a clean-up cut on the outside diameter, a center
drill on one end, a small chamfer and then I cut it or parted it off.
|
|
 |
|
1
2
3
4
5
6
7
8 |