|
Working With Metal Continued
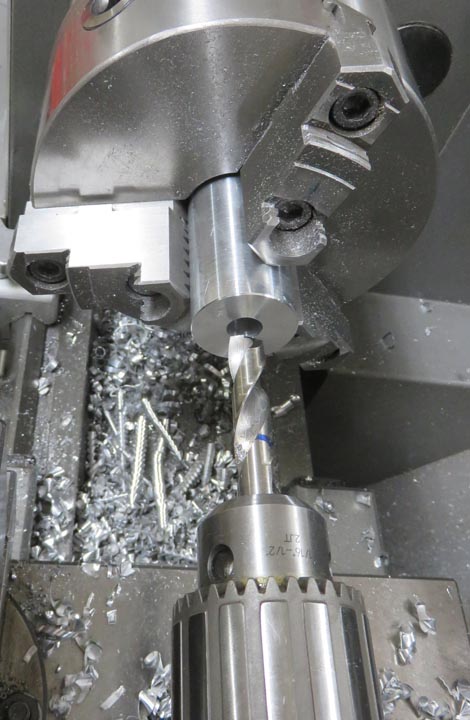
Then I turned them around and faced, chamfered and drilled them with a
1/2" drill by 1 3/4" deep (note the reference line on the drill).
|
|
 |
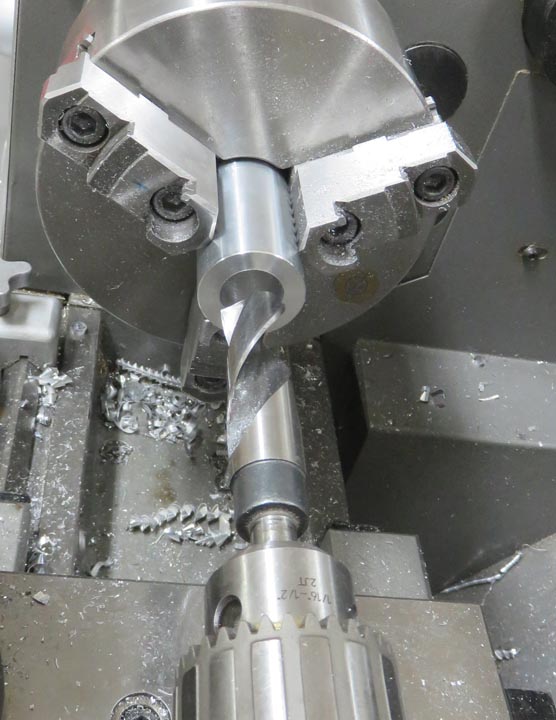
Next I used a 7/8" drill and went to the
same depth as above.
|
|
 |
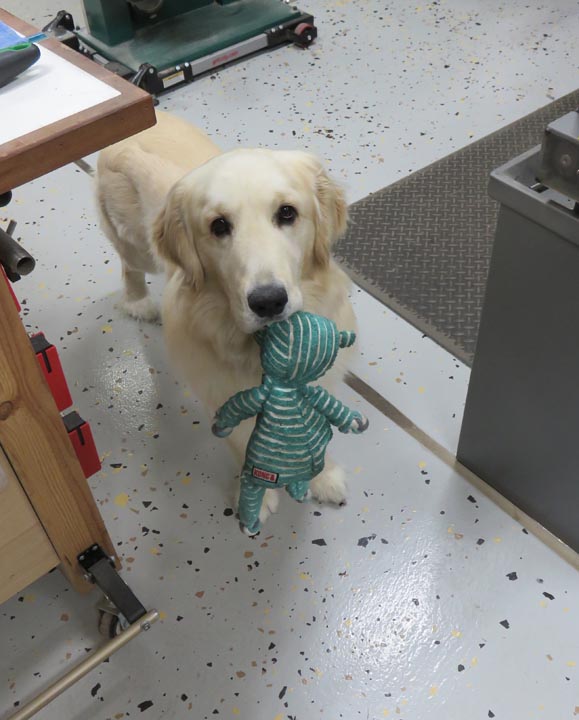
My dog Theo came out to visit me and wanted to play. So I took a break
and took him up on his offer.
|
|
 |
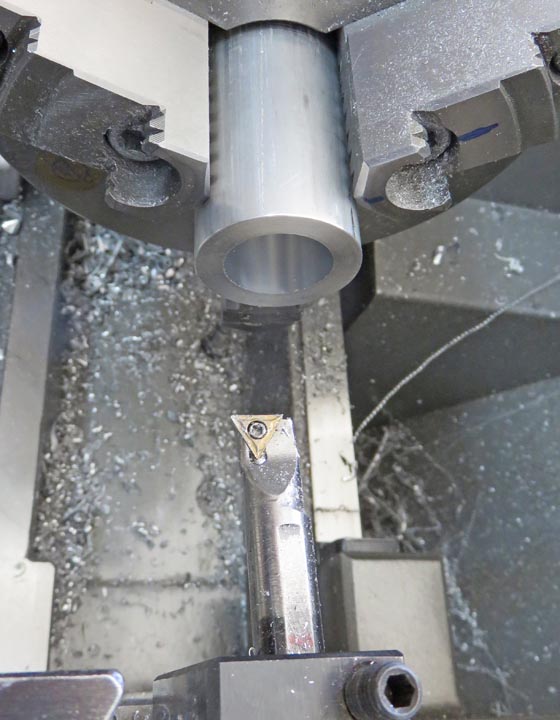
Anyways, then I bored them out to 1.00" by 1 3/4" deep.
|
|
 |
Last I made a counterbore that was 1 1/4" diameter by 1/8" deep and
chamfered both diameters.
|
|
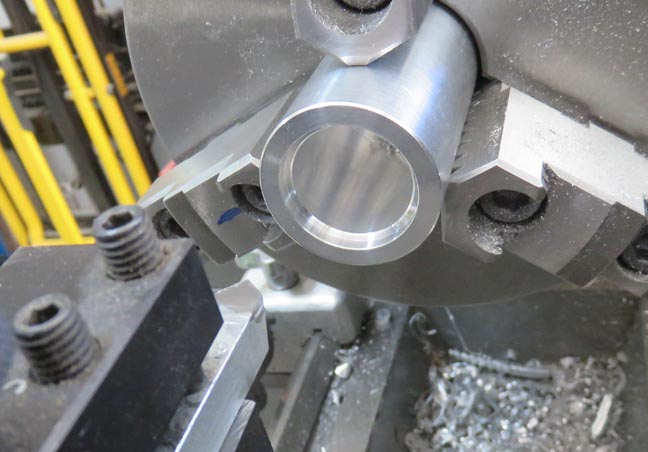 |
Here you can see the flat bottom along with the counterbore. This
counterbore will be used for an end-cap that will be held in place by a
10-32 flathead screw.
|
|
 |
|
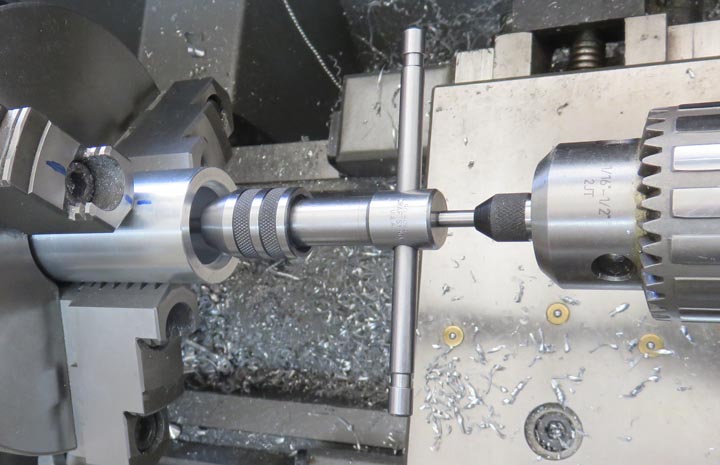
Here I'm drilling and tapping for the 10-32 threads. And
I'm keeping the tap straight using a spring loaded centering guide. At
this point, the main part of the cylinders are finished. Now I need to
make the end-caps.
|
|
 |
|
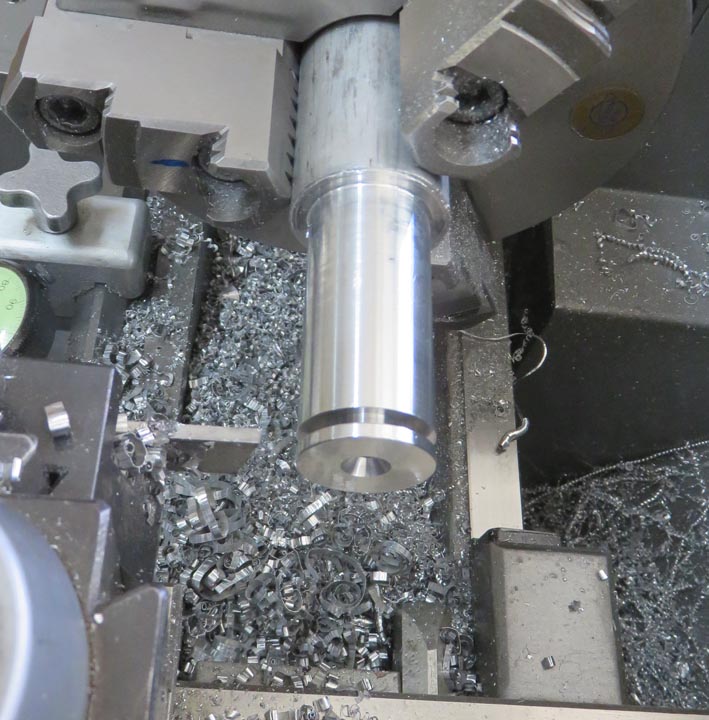
Here I'm making the end-caps. First I faced the end,
drilled a 3/16" hole as deep as I could go (this is so I could make
several end-caps without drilling each one), chamfered for a flathead
screw, used the parting tool about half way through the part, switched
to a chamfer tool and did the inside and outside, switched back to the
parting tool and parted it off. This method worked well, it's just rinse
and repeat 12 times.
|
|
 |
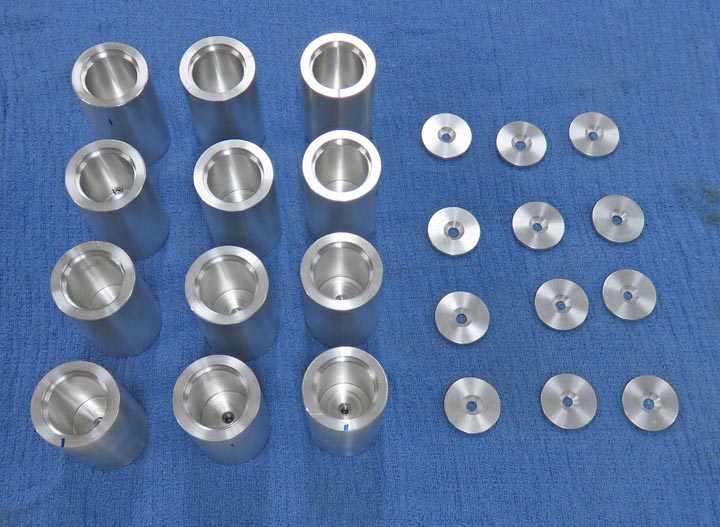
And there we go, I now have all the cylinders and end-caps finished.
|
|
 |
|
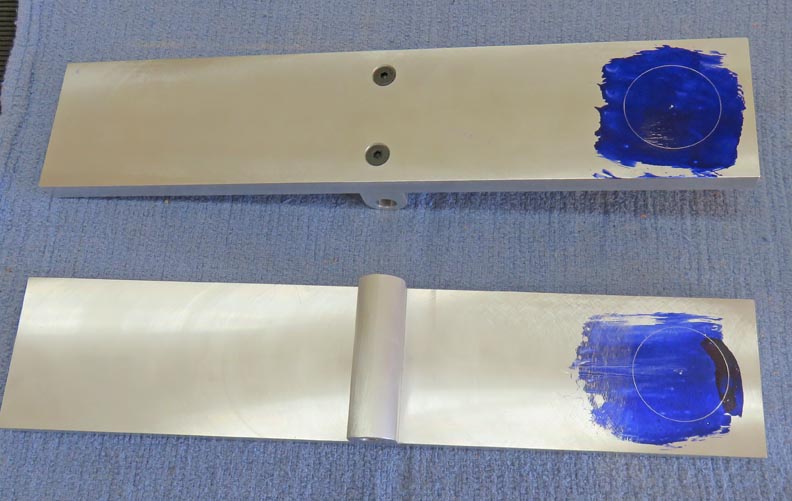
Now it's time to work on the balance bar. I'll need a
round pocket on one end for the cylinders. This pocket will be .100"
deep (just shy of 1/8"). However, by removing this amount of
material will throw the balance off slightly. To help offset this, I'm
going to make another pocket (of the same size) on the under-side but at
the opposite end. Nobody will see this other pocket so anyone that's
playing won't even know.
|
|
 |
|
1
2
3
4
5
6
7
8 |