Weight Scales  1                                                4-2025


I'm going to be making another Escape Room project this time, which should be a cool puzzle for someone to do. This one is going to be a weight scale that will weigh gold bars. Not real gold, but they will look close to the real thing if I do my part.

The idea behind this is there will be two of these scales, because two groups of people will be competing against each other in the same game. There will be six different weights of gold bars of various sizes, and six cylinders that will all be the same size. The people playing will have to find the gold that matches up with the cylinder of the same weight. Once they do, there will be a number on the top of each cylinder that will be used to open some kind of lock.

Now a scale for this type of weighing should be the kind that has two dishes that hang from a center point with small chains. However, that type of scale wouldn't last because it would be too delicate. And because people are in a hurry to finish the game under a time limit. With that in mind, I'll be making these scales that have no dishes or chains, but it will have one center point that an arm will rest on. Think teeter-totter here, which is what I'll be building.
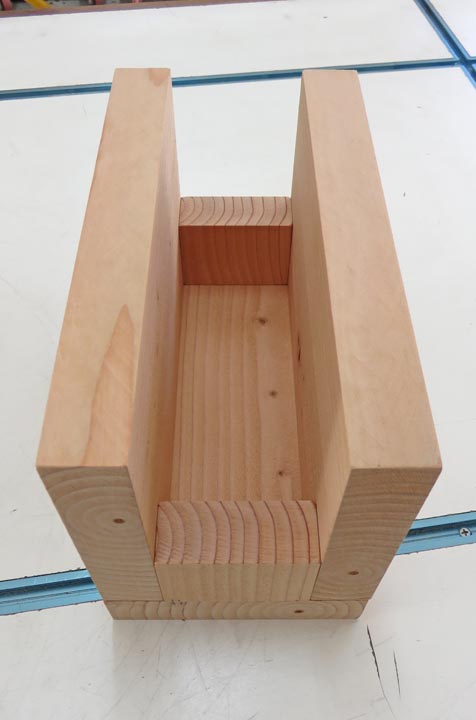
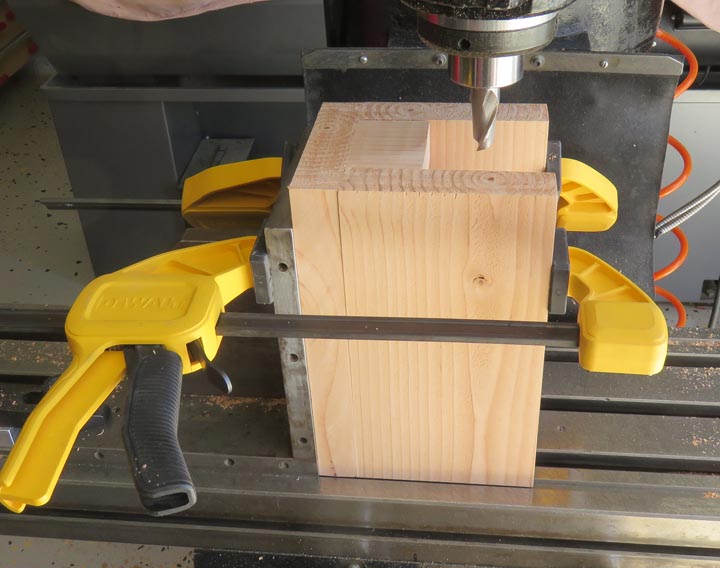
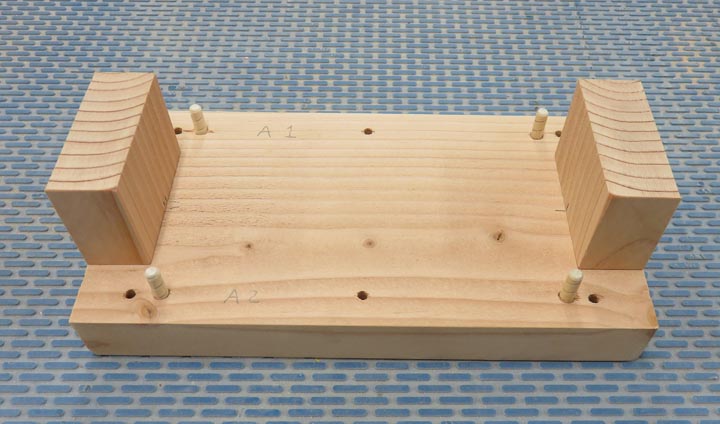
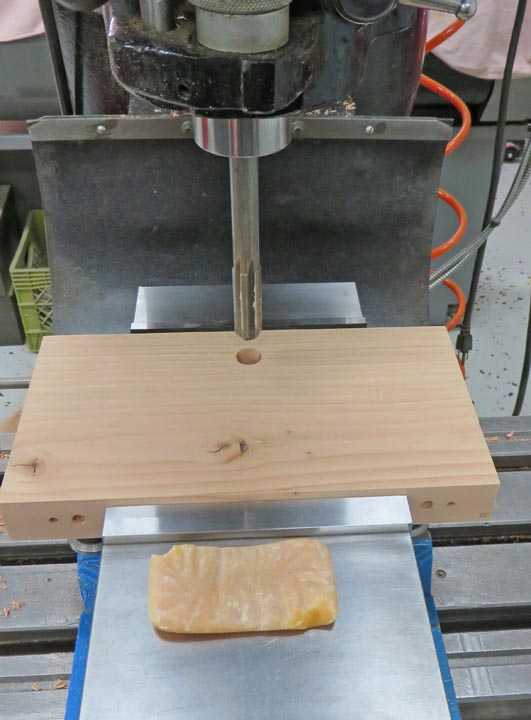
 

Working With Wood

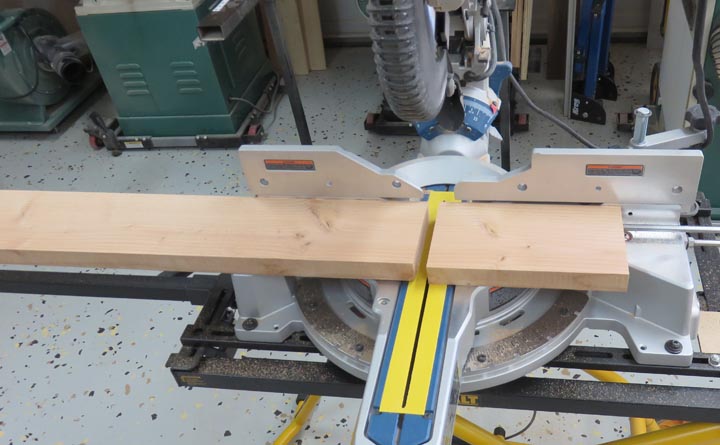
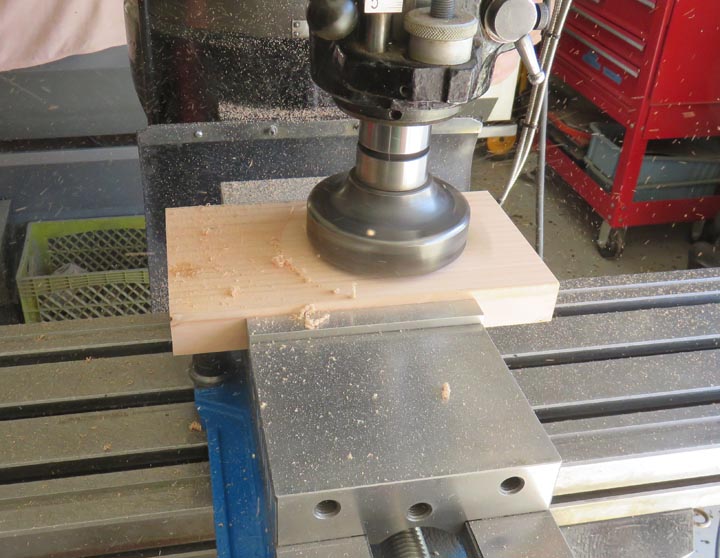
I'm using a leftover 2" X 6" that will be used to make the base of the scale. However, this piece of wood has a really bad twist in it, but if the short pieces are too bad, I have a plan for that.


First I cut some pieces that were 10" long to be used as the bottom of the base. And sure enough, those pieces still had a bunch of twist in them. Now it time to address that.


I don't have a jointer so I used my milling machine to get each surface nice and flat. This didn't take long and now I have something I can work with much easier.


Next I drilled some 3/16" holes that will be used as clearance holes for some #10 screws.


I drilled some pilot holes for the screws and then fastened some side pieces to the bottom. Now I'll need to remove these side pieces along the way so I used two wood dowels on each side piece (arrows). These dowels will ensure me that the side pieces go on exactly the same place each time.


I also added some smaller end pieces that will help stabilize everything.


I had a small mismatch with some of my pieces so I'm using my milling machine to make the sides look a little nicer. Does this make a difference in the function of the scales? No, not at all. But I can't stand all my pieces not being flush with each other. I guess it's a machinist thing.


Here is what the bottom looks like so far. And I'll be adding some screws to each end piece that will go through the sides and into the ends later.


Now it's time to add a pivot point for the arm to rest on. To do this I'll be making some steel bushings that the pin will go through. And the bushings will be pressed in the side pieces. Below are the tools I'll be using to produce the press fit holes. First is a 1/2" stub drill, then an end mill to straighten the hole and last a reamer that is slightly under 5/8" diameter.


Here I'm reaming the hole for the bushings. Note: the bar of soap, it was used to help quiet down the noise the reamer was making as it was cutting through the wood. Now normally I'd use cutting oil if I was machining metal, but the soap worked really well as a lubricant here.


1         2         3         4         5         6         7         8